
Kling O1 AI Video Transitions
Control where a clip begins and ends. Kling O1 takes a start frame and an end frame and fills in the motion between them - perfect for smooth transitions, morphs, and product reveals. Use it free in 3D AI Studio's Video Studio.

“Smoothly transition from a wide city shot into a close neon street”
What Kling O1 can do
A transition specialist - you control both ends, and the AI fills in the middle.
Start + end frame control
Upload an opening image and a closing image, and Kling O1 generates the motion that connects them. You decide exactly where the clip begins and resolves.
Smooth transitions
Create seamless transitions between two scenes or compositions that look like professional editing, not a hard cut.
Morphs & transformations
Morph one design, product, or look into another - perfect for before-and-after reveals and shape changes.
Chain into longer videos
Use the last frame of one clip as the start frame of the next to build seamless, multi-clip sequences.
Composition control
Because both endpoints are defined, you get far more control over the final shot than with single-image animation.
Up to 1080p
Render crisp 1080p transitions ready to drop straight into an edit or a social post.
Made with the Kling family
Kling O1 is built for transitions and reveals. Here's the kind of motion the Kling line produces.
“Drone weaving through a foggy neon city”
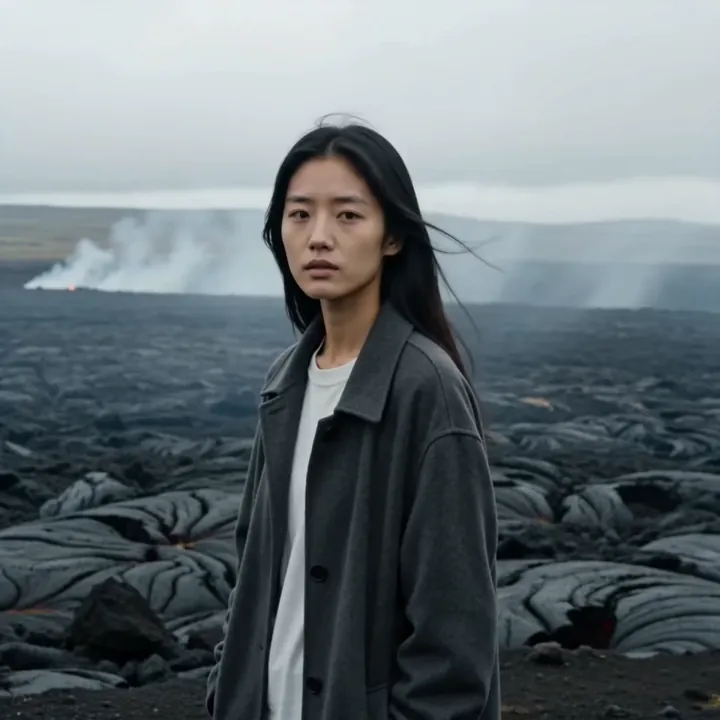
“Hair blowing, slow reveal of the landscape”

“Aerial drifting over a misty valley”
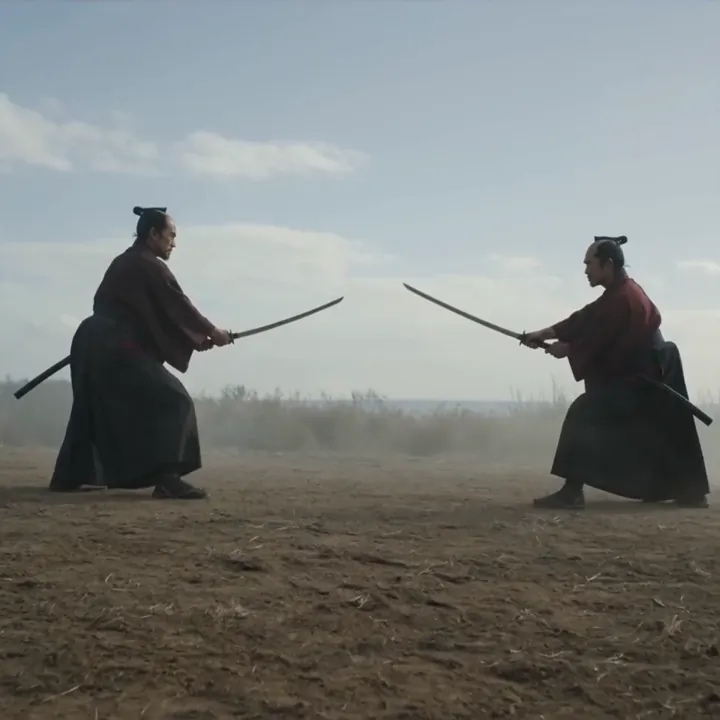
“Two warriors close the distance”
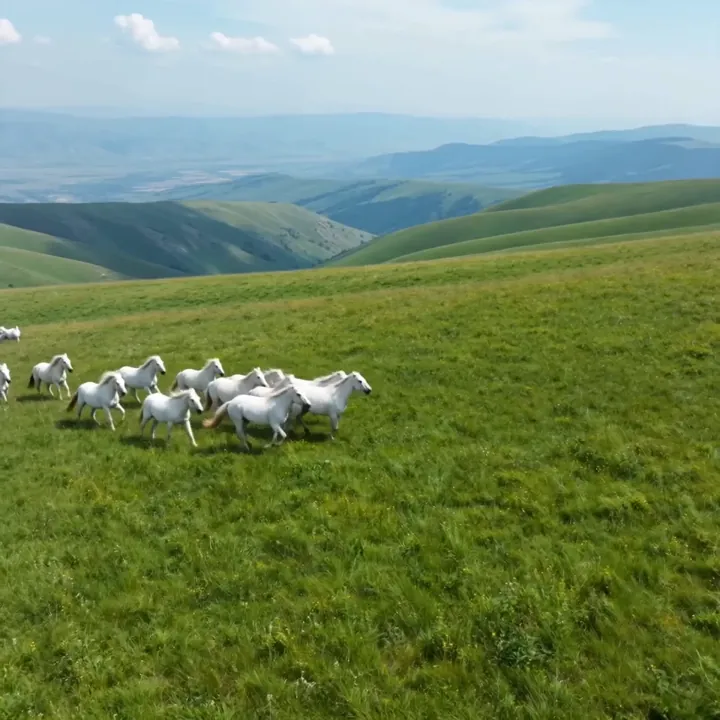
“Horses crossing a golden meadow”
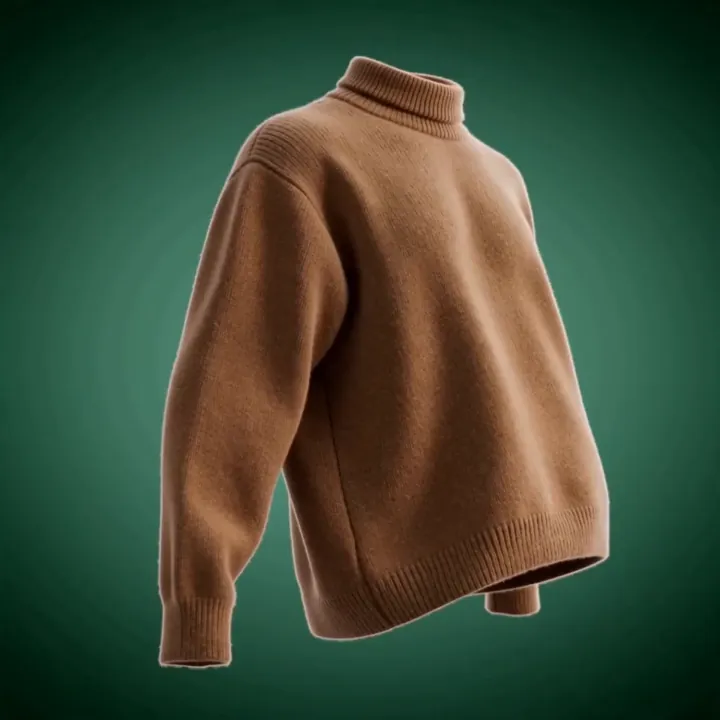
“Product turning for a clean reveal”
How to make a transition with Kling O1
Five steps to a smooth, controlled clip that starts and ends exactly where you want.
Open Kling O1 in Video Studio
Select Kling O1 and choose Image to Video. This is the model for transitions, morphs, and reveals where you want to control both endpoints.
Upload your start frame
Add the image that should open the clip. This becomes the first frame the viewer sees.
Add an end frame
Upload the image the clip should arrive at. Keeping both frames in the same scene and lighting gives the cleanest, most believable transition.
Describe the motion
Write how the transition should feel - the camera move, the pacing, and any transformation between the two frames.
Generate, then chain if needed
Pick 5 or 10 seconds and generate. To build a longer sequence, export the last frame and use it as the start frame of your next O1 clip. Download in HD.
How to write great Kling O1 prompts
With both frames set, your prompt mainly guides how the middle plays out.
Describe the transition
Say how the clip should move from start to end, not just the subject.
“smoothly push in and dissolve from day to night”
Match the two frames
Keep lighting and scene consistent between frames for clean results.
“same room, same light, character moves to the window”
Set the pacing
Tell O1 whether the transition is slow and graceful or quick.
“slow, graceful morph over the full clip”
Use it for reveals
Define a before and after to get a polished reveal.
“from closed box to open box showing the product”
Kling O1 specs
Everything you can control when you generate.
Kling O1 vs standard image to video
Standard models animate from one frame. Kling O1 lets you define both ends of the clip.
| Feature | Kling O1 | Standard image to video |
|---|---|---|
| Control | Start and end frame | Start frame only |
| Best for | Transitions & morphs | General motion |
| Reveals | Precise before/after | Less controllable |
| Chaining | Seamless sequences | Harder to match |
| Resolution | Up to 1080p | Varies |
| Endpoint control | Both ends | Open ending |
What people make with Kling O1
Scene transitions
Seamless cuts between two shots or settings.
Product reveals
Before-and-after and unboxing-style reveals.
Design morphs
Morph one design or look into another.
Day-to-night
Smoothly transform lighting and time of day.
Logo & brand stings
Polished animated transitions for intros.
Multi-clip sequences
Chain clips for longer, seamless stories.
Transformation FX
Shape and state changes between frames.
Social transitions
Eye-catching transition effects for feeds.
Make your frames, then connect them
Generate your start and end frames in Image Studio, connect them with Kling O1, or turn a frame into a 3D model - one account, one credit balance.

What is Kling O1?
Kling O1 is a transition-focused model in Kuaishou's Kling family, part of its Omni One system. Most image-to-video tools animate forward from a single starting image, leaving the ending up to the model. Kling O1 is different: you give it a start frame and an end frame, and it generates the motion that connects the two. That means you control exactly where the clip begins and where it resolves.
This dual-frame control makes Kling O1 ideal for smooth transitions, morphs, and product reveals. In 3D AI Studio it runs as an image-to-video model with an optional end-frame input, producing clips of 5 or 10 seconds at up to 1080p.
Why start-and-end frames matter
When you only control the first frame, the AI decides how the clip ends - which is fine for general motion but frustrating when you need a specific result. By defining both endpoints, Kling O1 turns generation into something far more predictable: the model's job becomes filling in a believable path between two compositions you've chosen.
That's why it's the go-to for transitions and reveals. Generate an 'empty room' start frame and a 'room full of people' end frame, and O1 creates the plausible motion between them. Generate a 'closed product box' and an 'open box', and you get a clean reveal. For the smoothest results, keep both frames in the same scene and lighting.
Chaining clips into longer sequences
Kling O1 also unlocks longer storytelling. Generate a clip, export its final frame, and use that as the start frame of your next O1 generation. Because each new clip begins exactly where the last one ended, you can chain several together into a seamless, multi-shot sequence with no visible joins.
This is a powerful way to get past the per-clip length limit while keeping continuity. Plan your key frames, generate the transitions between them with O1, and stitch the results into a longer piece. You can create those key frames in 3D AI Studio's Image Studio.
Tips for better Kling O1 transitions
Match your two frames as closely as possible in scene and lighting - the more they have in common, the cleaner the transition. Your prompt should describe how the middle plays out: the camera move, the pacing, and any transformation, rather than just the subject.
Use O1 deliberately for before-and-after moments and reveals where the payoff is the change itself. For general single-image animation, a standard model like Kling 3.0 or Veo 3.1 is simpler; for chained sequences, plan your key frames first and let O1 connect them. All of these models live in the same Video Studio.
Explore other video models
Every plan includes access to all of them. Pick the right tool for each shot.