
How to Paint 3D Prints: A Beginner Guide for PLA and Resin
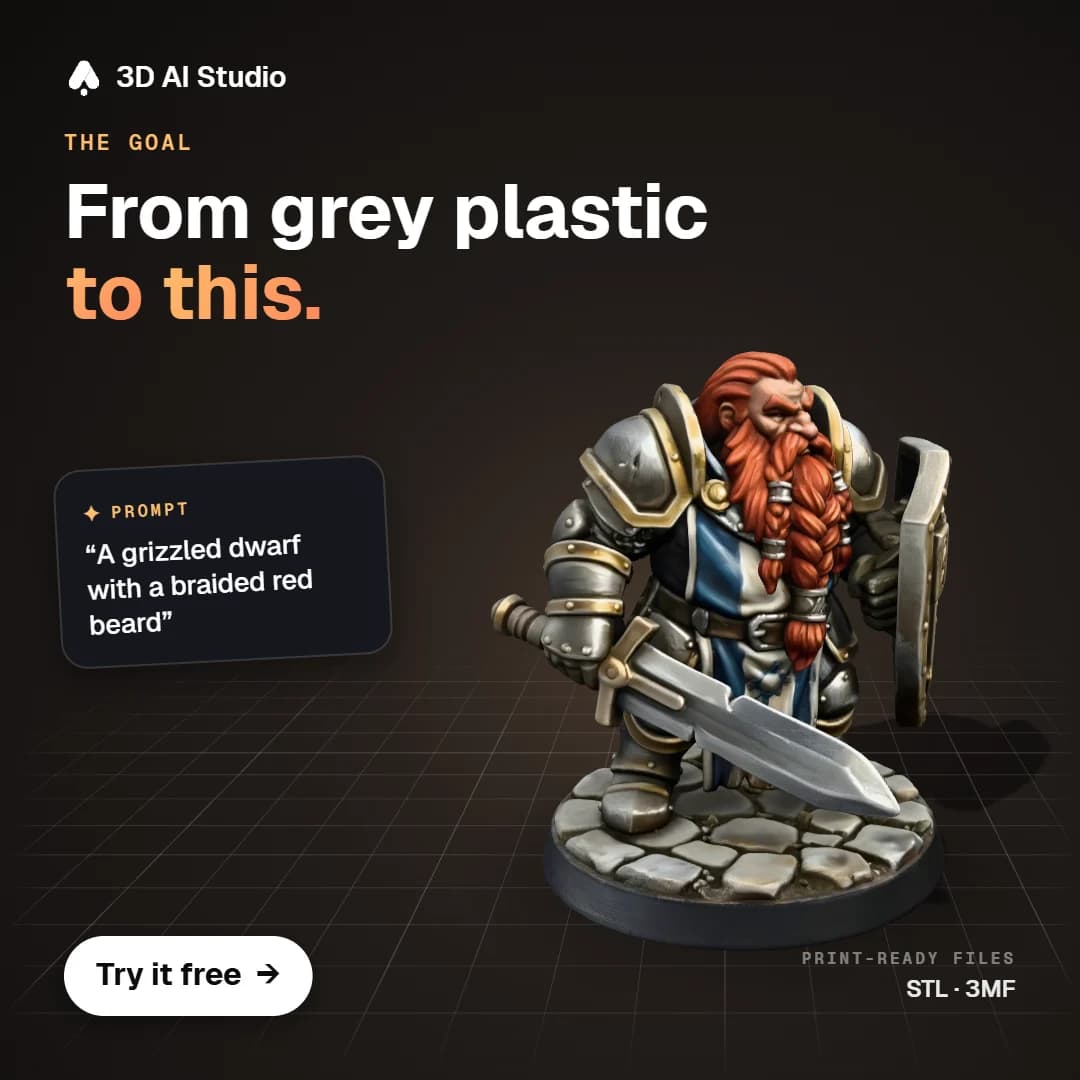
Painting is the step that turns a grey piece of plastic into something people actually want to pick up and look at. It also scares a lot of people off, because the first attempt usually looks pretty rough.
The good news is that painting 3D prints is mostly about doing things in the right order, and you don't need any special talent for it. In this guide I'm gonna go through the whole process I use, from cleaning the print to the final varnish, for both PLA and resin prints.
- Clean and sand the print first. Resin prints need to be washed and cured before anything else.
- Prime with a spray primer in light coats (grey works for almost everything).
- Base coat with thin acrylic paint, then add a wash for shadows and drybrush the raised edges.
- Seal it with a matte varnish once it's dry.
- If you're making the model yourself, pick the grey primer finish in the D&D Character Miniature or Monster Miniature template.
What do you need to paint 3D prints?
| Supply | What to get | Why |
|---|---|---|
| Sandpaper | 220 and 400 grit | Removes layer lines and support marks |
| Primer | Spray primer, grey | Makes paint stick and shows flaws |
| Paint | Acrylic miniature paints | Thin, smooth, good coverage |
| Brushes | Size 0, 1 and an old flat one | Detail, base coats, drybrushing |
| Wash | A brown or black wash | Instant shadows |
| Palette | A tile or a wet palette | Keeps paint workable |
| Varnish | Matte spray varnish | Protects the paint |
You can do everything in this guide with brushes and a spray can, so don't worry about buying an airbrush yet.
Step 1: Clean and prepare the print
For FDM prints (PLA or PETG), remove the supports, cut off any stringing with a hobby knife and sand down the spots where supports touched the model. If there are big flat areas with visible layer lines, go over them with 220 grit and then 400.
Resin prints need a bit more work. Wash them in isopropyl alcohol (or water, if you use water washable resin), let them dry completely and then cure them under UV light. I remove the supports before curing because they come off much cleaner that way. And wear gloves when you handle uncured resin, it's nasty stuff on your skin.
Step 2: How to prime 3D prints
A lot of beginners skip primer, and it's the single biggest reason paint jobs chip and look patchy.
Spray outside or somewhere with good airflow, from about 20 to 30 cm away. Use short, light passes and build it up over two thin coats, because one thick coat fills in the small details. Then give it at least an hour to dry.
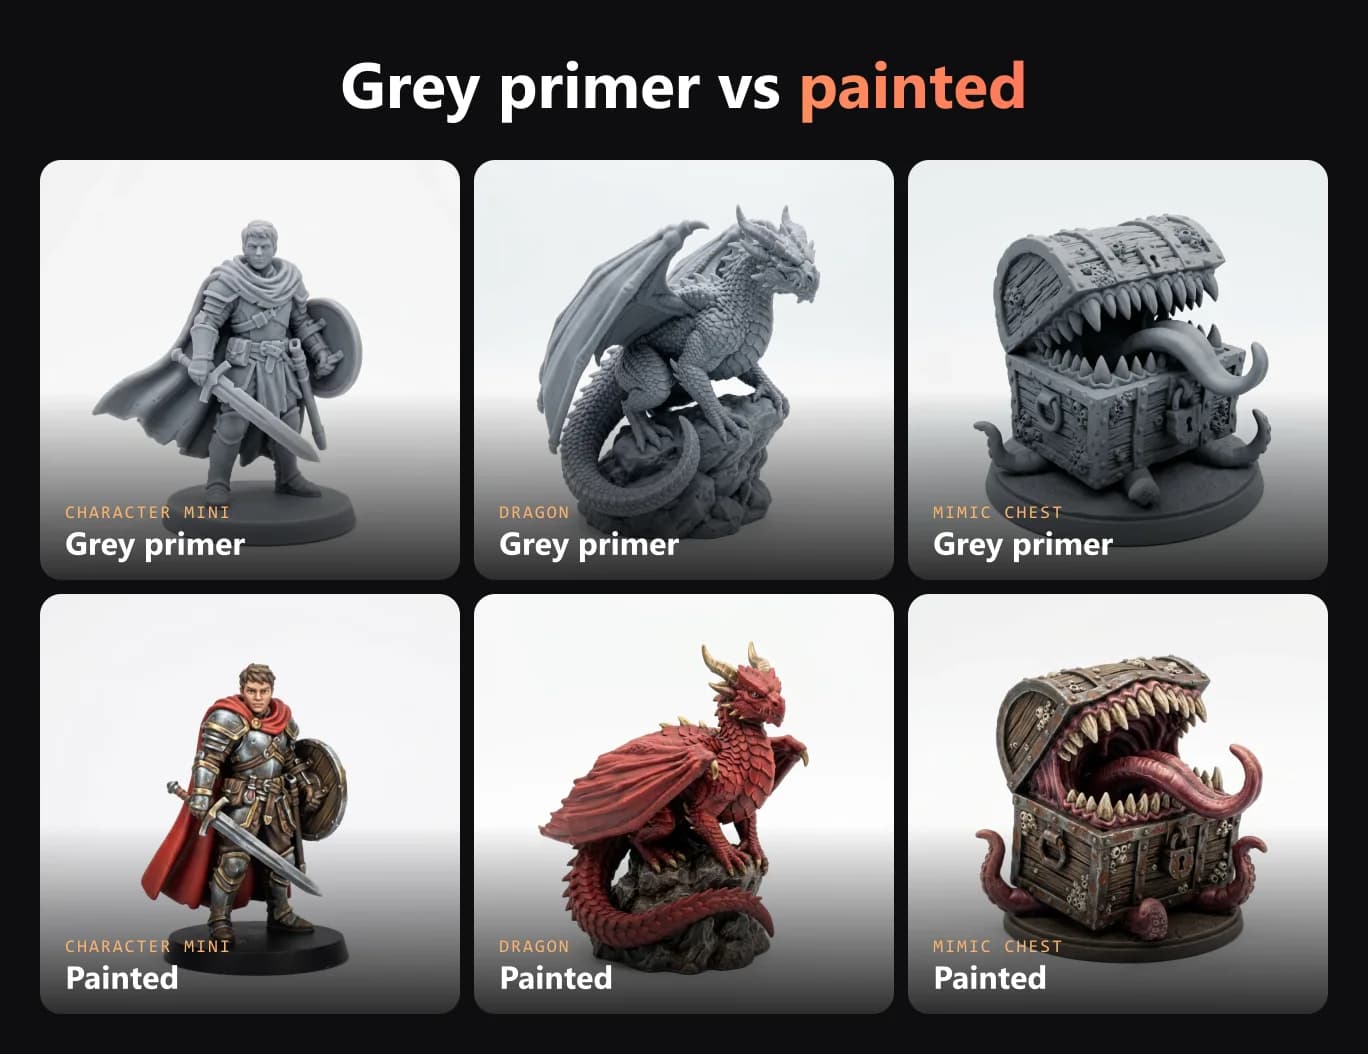
For the colour, grey is the safe default for basically everything. I use black primer for dark models like undead or black armour, and white when the final model is going to be bright, like snow or pastel colours.
If you can still see layer lines after priming, use a filler primer, sand lightly with 400 grit and prime again.
Step 3: Base coat
The base coat is where you block in the main colours, like the skin, the armour, the cloak and the base.
Thin your paint with a little water until it's about as runny as milk. Thick paint hides details and leaves brush marks, so it's better to do two thin coats. I usually start with the areas that sit deepest in the model (skin before armour, armour before the cloak on top), because it's easier to clean up mistakes that way.
Step 4: Wash for shadows
A wash is a very thin, dark paint that runs into all the recesses. You brush it over the whole model (or just the metal and cloth parts) and it adds shadows in one go. A brown wash works on almost any colour.
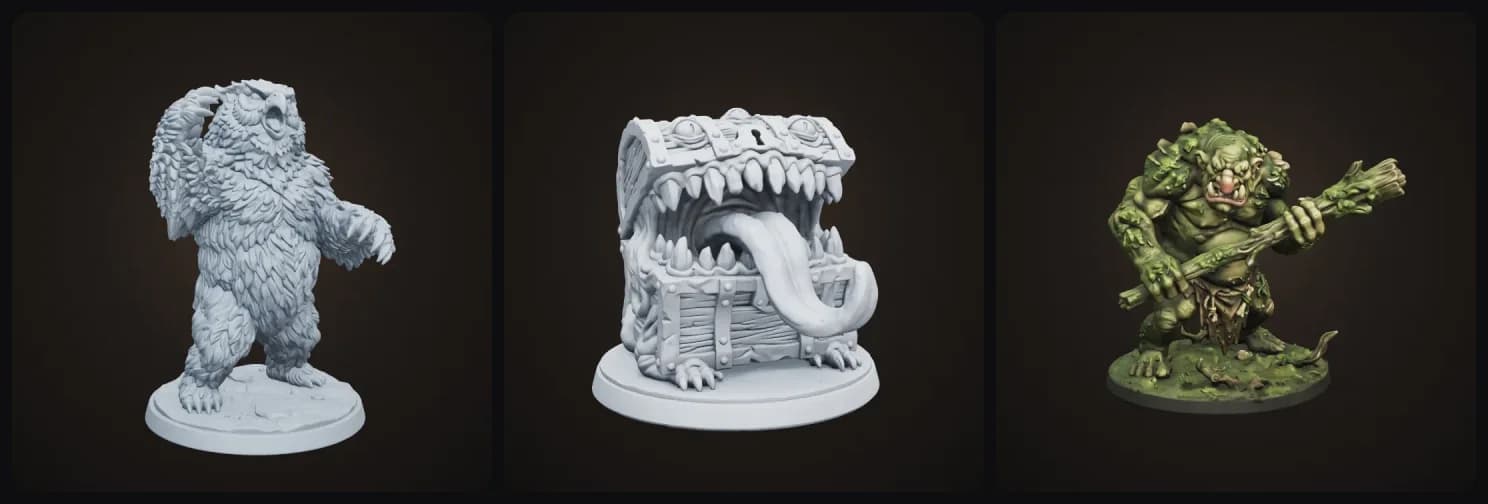
This is the step where a model starts to look like a real miniature, so don't skip it. Compare the grey owlbear and mimic on the left with the painted swamp troll on the right:
Step 5: Drybrush for highlights
For drybrushing you take an old flat brush, dip it into a lighter colour and wipe nearly all of the paint off on a paper towel. Then you lightly brush across the model, and the little bit of paint left only catches on the raised edges.
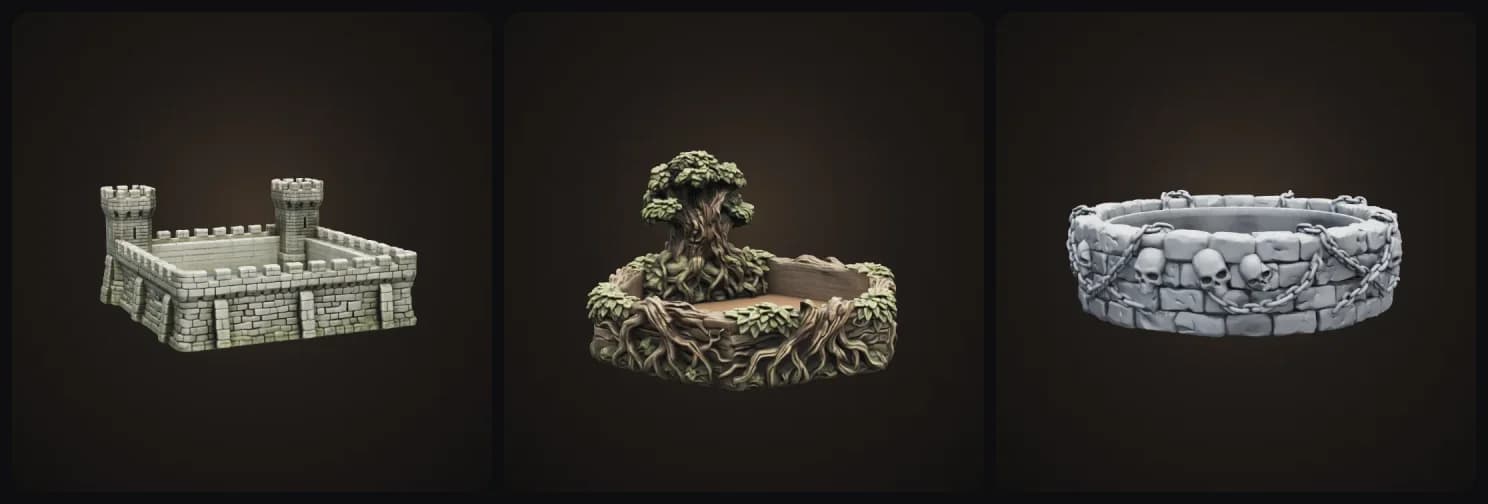
It works really well on fur, stone, scales and metal, which is why dragons and terrain look good so quickly with this technique. Stone walls like these dice trays are perfect practice:
Step 6: Details and highlights
Now do the small stuff: eyes, belts, buttons, gems and the edges of the armour. Use your smallest brush and take your time here. One tip for eyes: at miniature scale, paint them as a small dark dot or line. A big white eye looks really creepy on a 32 mm figure.
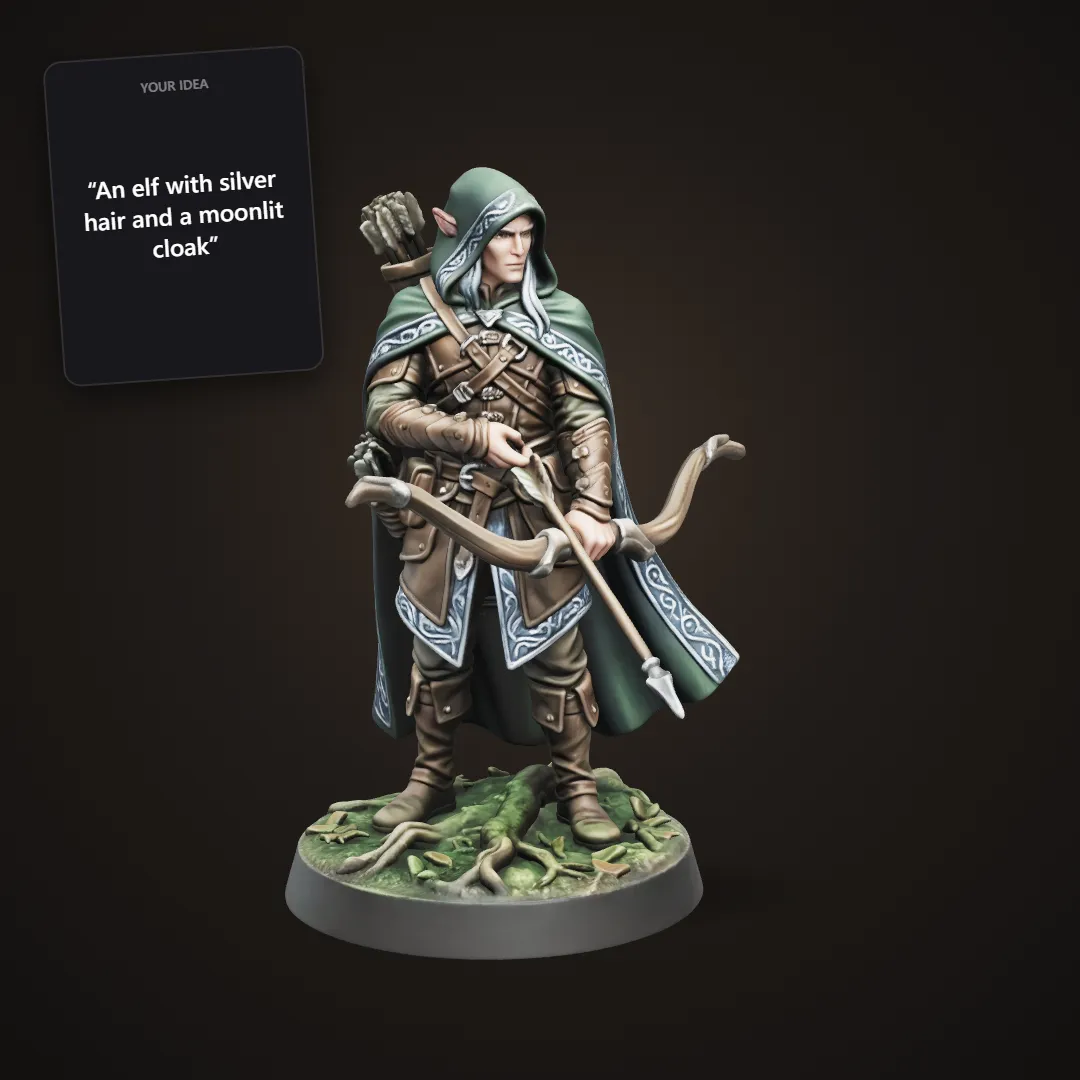
Step 7: Varnish
Wait until everything is completely dry (I give it a day) and then spray a matte varnish. Miniatures that get used at the table get touched a lot, and the varnish stops the paint from rubbing off. If you want, add a bit of gloss varnish on the gems, eyes or water afterwards for some contrast.
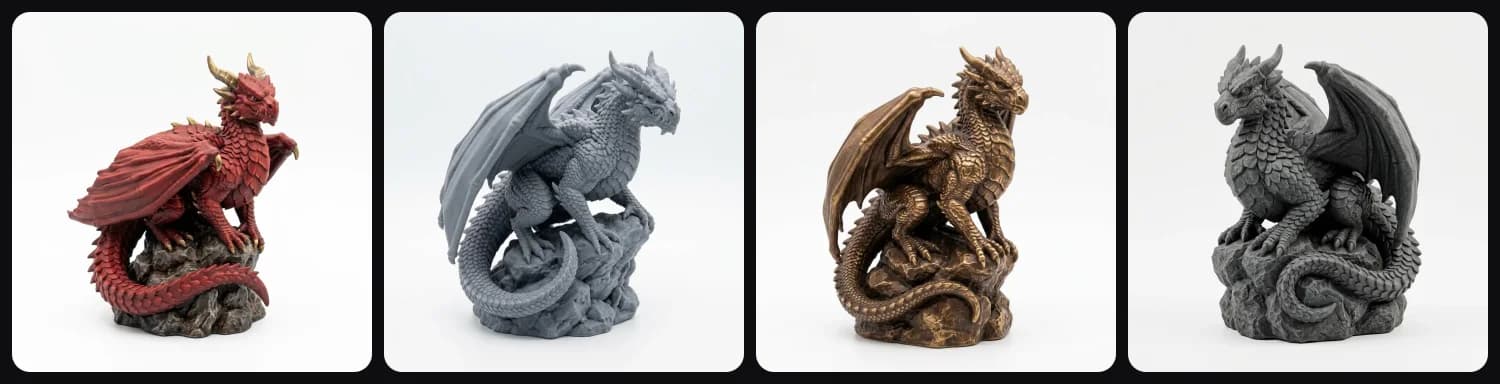
If you'd rather go for a statue look than full colour, a metallic or stone paint job is quicker and looks great on display pieces:
How long does it take to paint a 3D print?
| Model | Beginner time |
|---|---|
| 32 mm miniature | 1 to 3 hours |
| Monster miniature | 2 to 4 hours |
| 10 cm figurine | 3 to 6 hours |
| Dice tray | 1 to 2 hours (mostly drybrushing) |
| 20 cm dragon | 4 to 10 hours |
Where to get models that are good for painting
Painting gets a lot easier when the model has crisp details and clear shapes, without parts that melt into each other. If you make your models in 3D AI Studio, the tabletop templates have a grey primer finish option for this.
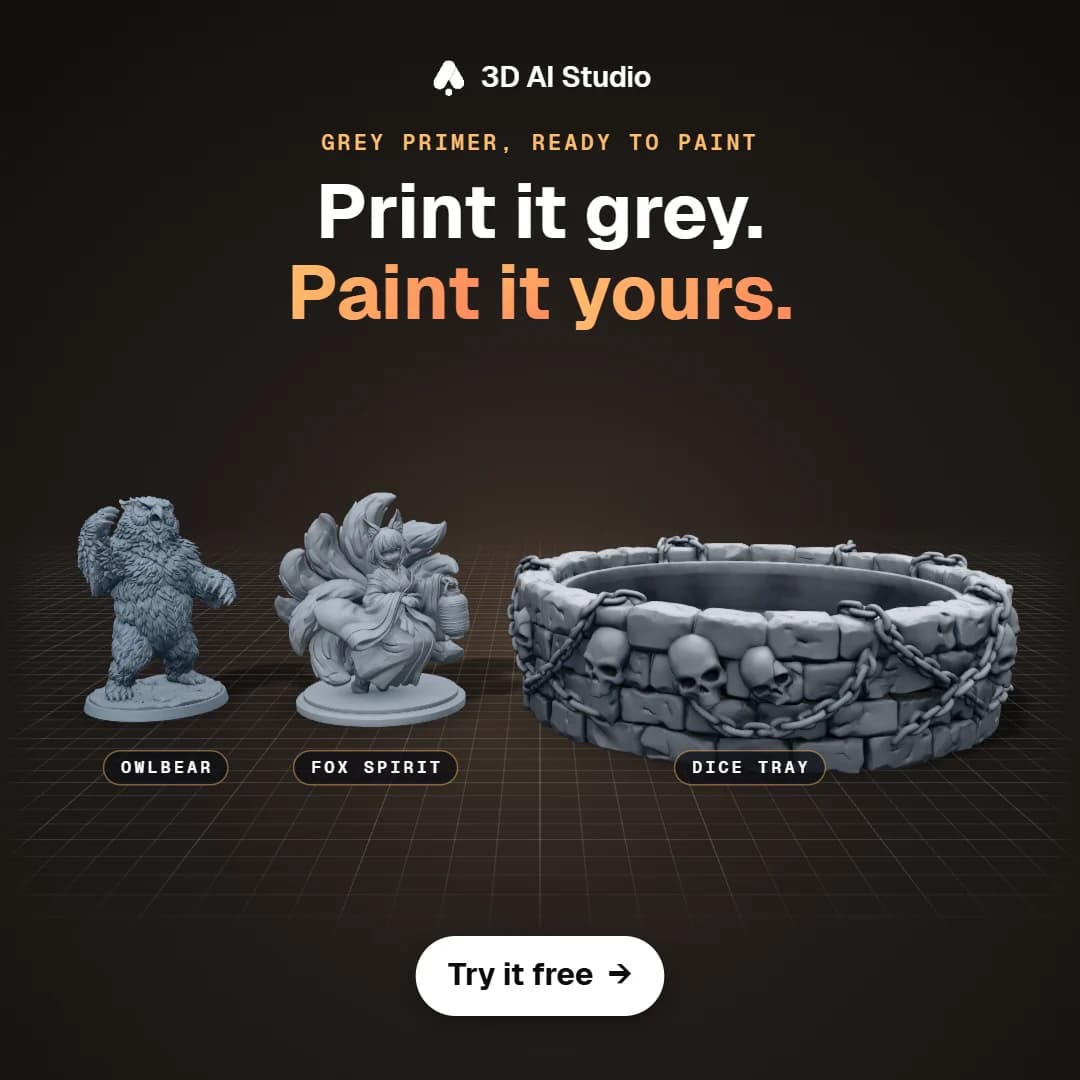
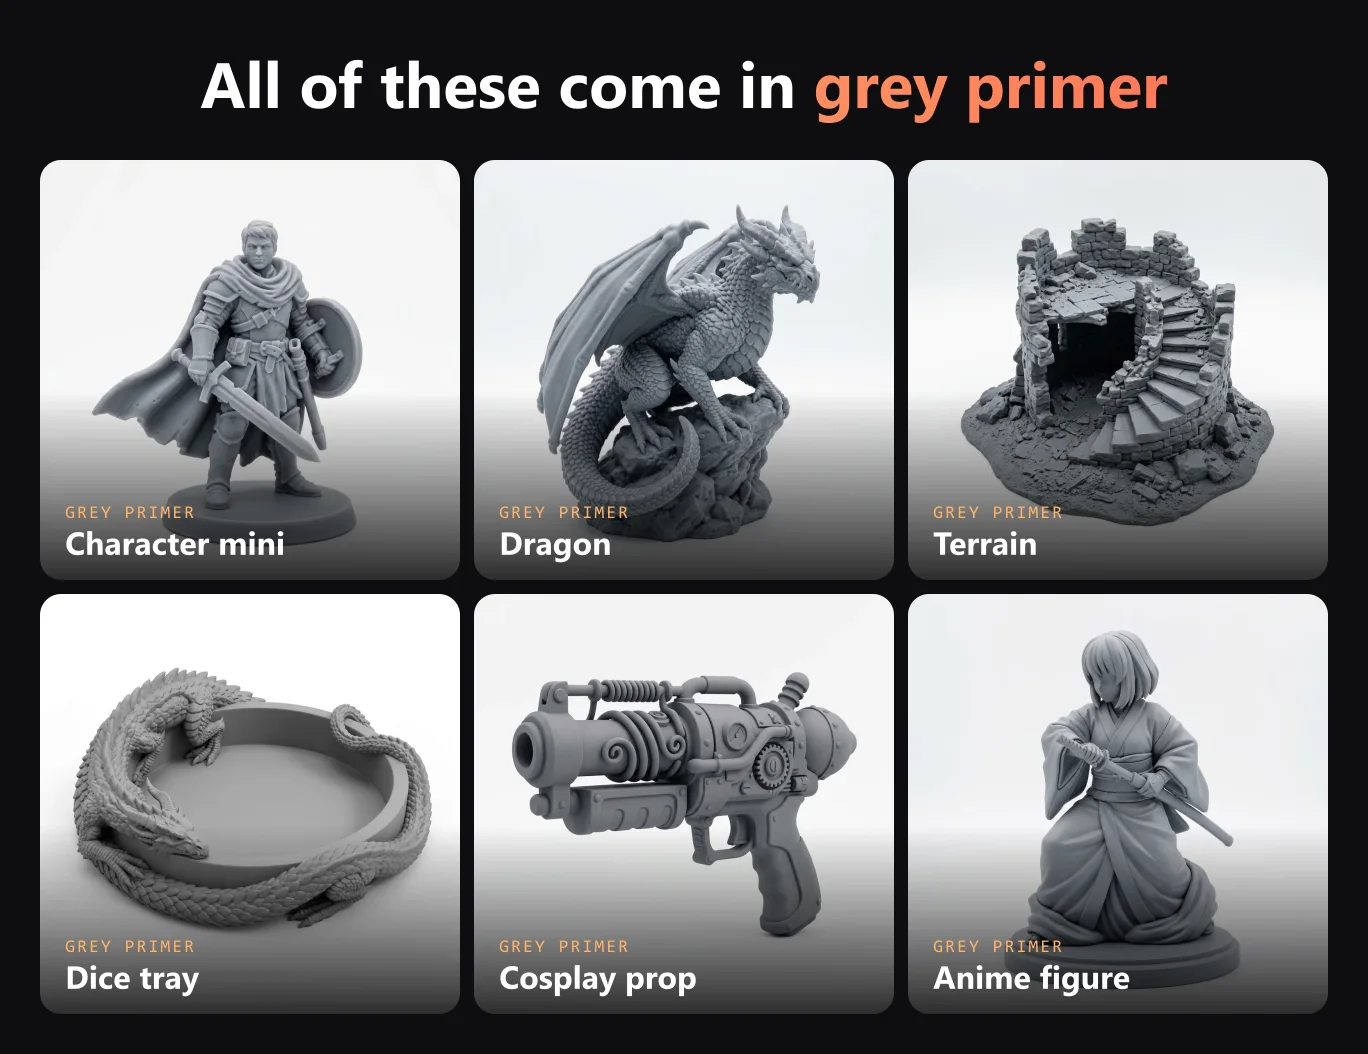
These are the ones I'd start with:
- D&D Character Miniature for your own hero, in any of 8 races and 12 classes
- Monster Miniature for the next boss fight
- Mimic Chest, the classic trap monster
- D&D Dice Tray, which is good drybrushing practice
- Dragon Sculpture if you want a big project (here's how to 3D print a dragon)
- Anime Figure, which has its own primer style
Common painting mistakes
The one I see most is paint that's too thick, so thin it down every time. Skipping primer is the next one, and the paint will chip off sooner or later. Painting a print that still has dust or stringing on it is another, because all of that shows through the paint.
With washes, don't try to make your own by just adding loads of water to normal paint. It pools in the wrong places, and a proper wash is cheap. And give the paint enough time before you varnish, otherwise the varnish can turn cloudy.
Getting started
Start with something small, like a 32 mm miniature. You can make one in grey primer with the D&D Character Miniature template, print it and follow the steps above. The second one will already look a lot better than the first, I promise.
More guides
If you need a character to paint, I put together 50 D&D character ideas. The guide to D&D miniatures, mimics and dice trays covers sizes and printing, and for a bigger display piece, here's how to 3D print a dragon.
Happy painting!

Generate 3D models with AI
Easily generate custom 3d models in seconds. Try it now and see your creativity come to life effortlessly!
FAQ
What paint do you use on 3D prints?
Acrylic paint. Miniature paints from Citadel, Vallejo or The Army Painter give the best results, and cheap craft acrylics are fine for bigger prints. Prime first so the paint sticks.
Do I need to prime 3D prints before painting?
Yes. Primer helps the paint stick to PLA and resin and gives you an even colour to start from. It also shows print flaws before you've put any paint on. Use a spray primer in light coats: grey for most models, black for dark ones, white for bright ones.
How do I hide layer lines before painting?
Sand with 220 grit, then 400, then spray a filler primer (also called sandable primer) and sand again lightly. For small figurines it's easier to avoid layer lines from the start by printing at 0.08 to 0.12 mm or using a resin printer.
Can you paint PLA without primer?
You can, but the paint scratches off easily and you'll need more coats. Spraying primer takes about five minutes, so I'd always do it.
What brushes do I need to paint 3D prints?
A size 1 brush for base coats, a size 0 for details like eyes and belts, and an old flat brush for drybrushing. Synthetic brushes are fine to start with, you don't need expensive ones.
Can you use spray paint on 3D prints?
Yes. Spray primer is the easiest way to prime, and spray paint works well for single colour prints like vases, props or helmets. Use light coats from 20 to 30 cm away so you don't fill in details.
How do I avoid brush marks when painting PLA?
Thin your paint with a little water, use two or three thin coats instead of one thick one, and let each coat dry before the next. A smooth primer underneath helps a lot too.
Do resin prints need to be sanded before painting?
Usually only where the supports touched the model. Wash and cure the print, remove the support nubs, lightly sand those spots and prime. Resin surfaces are already smooth, so there are no layer lines to hide.
How do you seal painted 3D prints?
Once the paint is fully dry, spray a varnish. Matte works for miniatures and most figurines, and you can add gloss on top for metal, eyes or water. Varnish protects the paint when the model gets handled a lot.
Can I get a model that's ready to paint?
Yes. The D&D and miniature templates in 3D AI Studio have a grey primer finish option. You get a clean grey model with all the details visible and no colours baked in.