
How to Split a 3D Model for Printing with AI (Snap-Fit Joints Included)
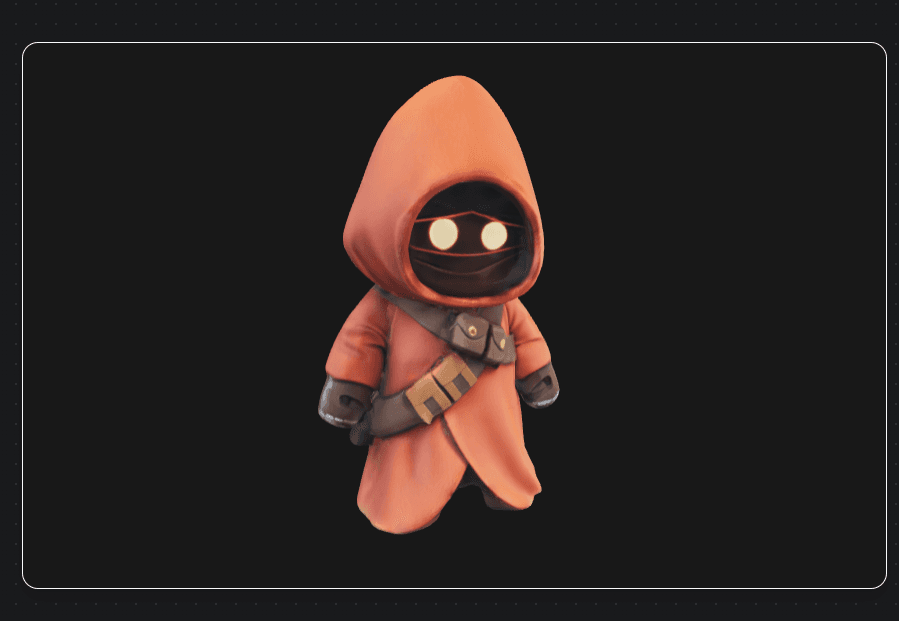
Your model is bigger than your build plate. Or the arms and sword of your miniature are so spindly that supports would destroy the detail. Or you want to print a figure in multiple colors on a single-extruder printer. All three problems have the same answer: split the model into parts - and what used to be an hour of manual plane cuts in Meshmixer is now one click with AI.
This guide covers when to split, how automatic splitting works, which joint type to pick, and how to do it in the browser with any GLB, STL, or OBJ file.
Why Split a 3D Model?
Build plate limits. A 30cm figure doesn't fit a 22cm plate. Split at natural boundaries (waist, shoulders), print the parts, assemble.
Support damage. Overhanging arms, weapons, and accessories need supports, and removing supports from a detailed surface leaves scars exactly where you don't want them. Printing an arm as a separate piece lets you orient it so the supports touch non-visible geometry.
Multi-color printing. Split a character into logical color regions, print each part in its filament color, and assemble - no AMS or painting required.
Better orientation per part. Faces print best facing up on resin; flat bases print best flat on FDM. One orientation can't do both - two parts can.
Articulation. With ball joints, a split figure becomes a posable one.
The Old Way vs the AI Way
The traditional workflow: import into Meshmixer or Blender, place cutting planes by hand, boolean the mesh, hope everything stays watertight, model your own connector pegs, add clearance by trial and error, re-export, repair. It works, and for full manual control it's still valid - but it's an hour per model and a real skill barrier.
The AI way, using the split technology from Hitem3D (the print-first AI 3D company): the model is analyzed semantically - it knows a head from a torso from a limb - split along natural boundaries, sealed watertight on every cut face, and fitted with connector joints automatically. Under a minute of your time, 2-5 minutes of processing.
How to Split a Model in the Browser
- Open the Segmentation Tool on 3D AI Studio
- Upload your model - GLB, STL, or OBJ, up to 200 MB - or pick any model you've generated on the platform
- Choose a split mode (see below)
- Process, preview the parts in 3D, and download
The result is a GLB containing the separated parts; convert to STL for slicing with the built-in converter. The same tool is also available directly from your dashboard on any generated model.
Split Modes Explained
Character Mode: Template-Based Splitting
Made for humanoids, creatures, and figures. Pick how many pieces you want:
| Template | Parts | Use when |
|---|---|---|
| 6 parts | Full breakdown (head, torso, arms, legs) | Large figures, maximum orientation control |
| 5 parts | Detailed split | Big prints with fewer joints to assemble |
| 4 parts (with head) | Head separate | Face detail needs its own orientation |
| 4 parts (no head) | Torso+head together | Sculpted hair/head that shouldn't be cut |
| 3 parts | Simple | Medium figures |
| 2 parts | Minimal | Just needs to fit the plate |
More parts = finer control over orientation and bigger printable scale; fewer parts = less assembly and fewer visible seams. For a first attempt, 4 parts with head is a sensible default for most figures.
Joint Types: How the Parts Connect
This is the part manual splitting makes painful and AI makes trivial - the connectors are generated automatically at every cut:
- Ball joints (snap-fit) - press the parts together and they hold. Also makes the figure lightly posable. Best all-around choice for figures and action-figure-style prints.
- Dovetail joints (slide-fit) - parts slide together along a track. Very strong, invisible from most angles, great for torso/waist cuts and larger structural parts.
- None (clean cuts) - flat faces for gluing. Choose this for resin prints where you'll sand and bond, or when you want zero joint geometry interfering with the silhouette.
Printing tip for joints: print snap-fit joints at 100% of model scale first to test fit. FDM prints usually snap together as generated; on resin, joints can come out tight - a light sand on the ball or a 0.1mm resize of the part fixes it.
General Mode: Granularity-Based Splitting
For everything that isn't a character - terrain, vehicles, buildings, props. Instead of anatomy templates, you choose how finely to split:
- Low - a few large parts (fit-the-plate problems)
- Medium - balanced (the default)
- High - many small parts (multi-color printing, complex assemblies)
A Complete Workflow: Photo to Multi-Part Print
Here's the full pipeline, all in one place:
- Generate an ultra-detailed model from a photo with Hitem3D 2.1 - 1536³ resolution, geometry-only mode if you'll paint it
- Split it: character mode, 4 parts, ball joints
- Convert the parts to STL
- Slice each part in its ideal orientation - face up, supports on hidden surfaces
- Print, snap together, done
Total hands-on time: about five minutes. For the generation step in detail, see the Hitem3D tutorial.
When to Still Use Manual Tools
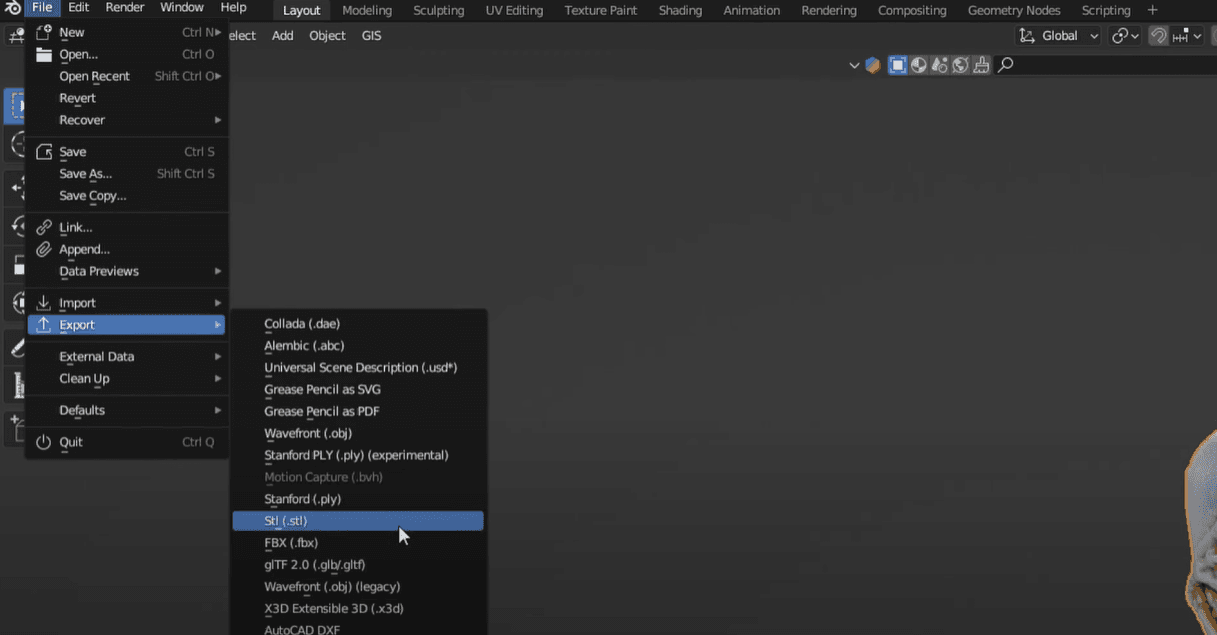
Template-based AI splitting covers the common cases, not every case. Reach for Blender or Meshmixer when you need a cut in an exact custom location, when you're splitting mechanical parts along engineering datums, or when you want custom connector geometry (threaded joints, keyed pegs). Hitem3D's own Hi3D Studio also offers a manual lasso-based split editor if you want AI assistance plus hand control - that's the one significant split feature not available on 3D AI Studio.
For everything else - figures, miniatures, decorative prints, "it doesn't fit my plate" - the one-click split is faster and produces cleaner, watertight parts than most manual jobs.
Try it on your own model: open the Segmentation Tool - free credits for new users.
Related reading:

Generate 3D models with AI
Easily generate custom 3d models in seconds. Try it now and see your creativity come to life effortlessly!
FAQ
Does splitting a 3D model preserve textures?
The split output focuses on geometry; original textures are not preserved through the split. For painted multi-color prints this does not matter since you print in filament colors. For textured digital use, split first, then re-texture with the material generation tools.
What file types can I split?
GLB, STL, and OBJ files up to 200 MB - from any source, not just AI generations. A ZBrush sculpt or a downloaded STL works fine.
How much does splitting a 3D model cost?
30 credits per split on 3D AI Studio, refunded automatically if processing fails.
Can I split scanned or sculpted models?
Yes. Character mode works on any roughly humanoid mesh, and general mode works on anything - terrain, vehicles, buildings, props.
Should I use ball joints or dovetail joints?
Ball joints for limbs and posable parts (snap-fit), dovetail for structural torso and waist connections (slide-fit), and none (clean cuts for gluing) for seam-critical resin display pieces.