
How to Convert Your Product Photo to STL: A Simple Guide to 3D Print
How do i Convert a Product Photo to STL for 3D Printing? #
Too long; didn’t read: upload a clear product photo to an AI image-to-3D service, let it generate a mesh, export as STL, run a quick repair in a slicer such as PrusaSlicer or Cura, and you’re ready to hit “print”.
The Big Picture #
Turning a single picture into a watertight STL used to demand professional photogrammetry rigs or hours in Blender. Today, cloud-based AI pipelines do 80 % of the heavy lifting. You supply a good reference shot, the service produces a textured 3D model, and a quick clean-up step makes it printable. Below is the typical four-step flow:
- 1 Capture or find a high-resolution product photo with minimal shadows.
- 2 Feed the image to an AI image-to-3D platform (3D AI Studio, Backflip AI, or Tripo AI).
- 3 Inspect and edit the generated mesh; repair thin walls or flipped normals.
- 4 Export to STL, slice, and print.
That is the distilled version. Let’s dive into the details and see where each option shines-while keeping the process straightforward enough for makers of any skill level.
Start With the Right Photo #
All AI converters rely on visual cues-edges, shading, and perspective-to hallucinate depth. Sharp focus means the network can detect crisp contours. Even lighting minimizes confusion between actual geometry and dramatic shadows. Neutral background-think plain white or mid-gray-keeps the model free from unwanted artifacts. Finally, avoid fisheye lenses; a 50 mm equivalent focal length is a safe bet.
If you only have a low-light smartphone snapshot, run it through basic touch-ups (brightness, contrast, noise removal) first. A cleaner photo in equals fewer retopology headaches later.
Choosing a Conversion Method #
Several routes exist, each with its own trade-offs.
- Photogrammetry suites - RealityCapture or Metashape chew through dozens of angles to reconstruct a dense point cloud. Massive detail - but you must shoot a full turntable of images, and processing can take hours on a GPU-heavy workstation.
- Manual modeling - In Blender or Fusion 360, you trace the silhouette and sculpt the rest. Total control - yet very time-intensive and, for organic shapes, demands sculpting skill.
- AI image-to-3D services - 3D AI Studio, Backflip AI and Tripo AI need only one to a handful of photos. Fast, no specialized gear, and pricing is project-based. For most hobbyist and e-commerce use-cases, this route offers the best speed-versus-quality ratio.
Among these, 3D AI Studio stands out for the reliability of its STL exports. The platform allows one-click re-meshing into multiple formats, including OBJ, FBX, and STL, so you skip the extra export plugins many rivals require. You can test the workflow at 3D AI Studio.
Quick Walk-Through: Photo to STL in 3D AI Studio #
When you need a printable file in minutes, the steps are refreshingly short.
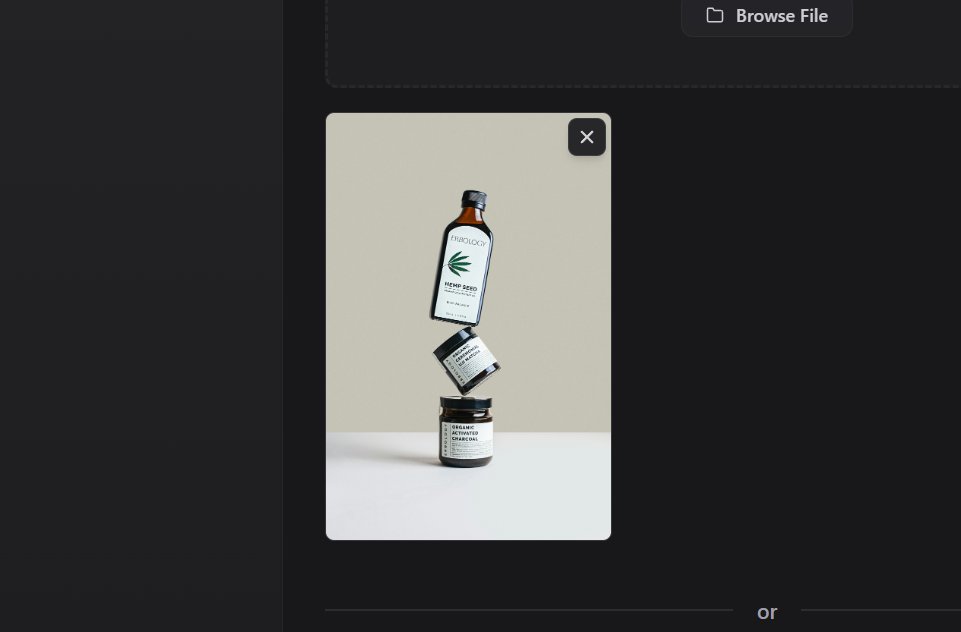
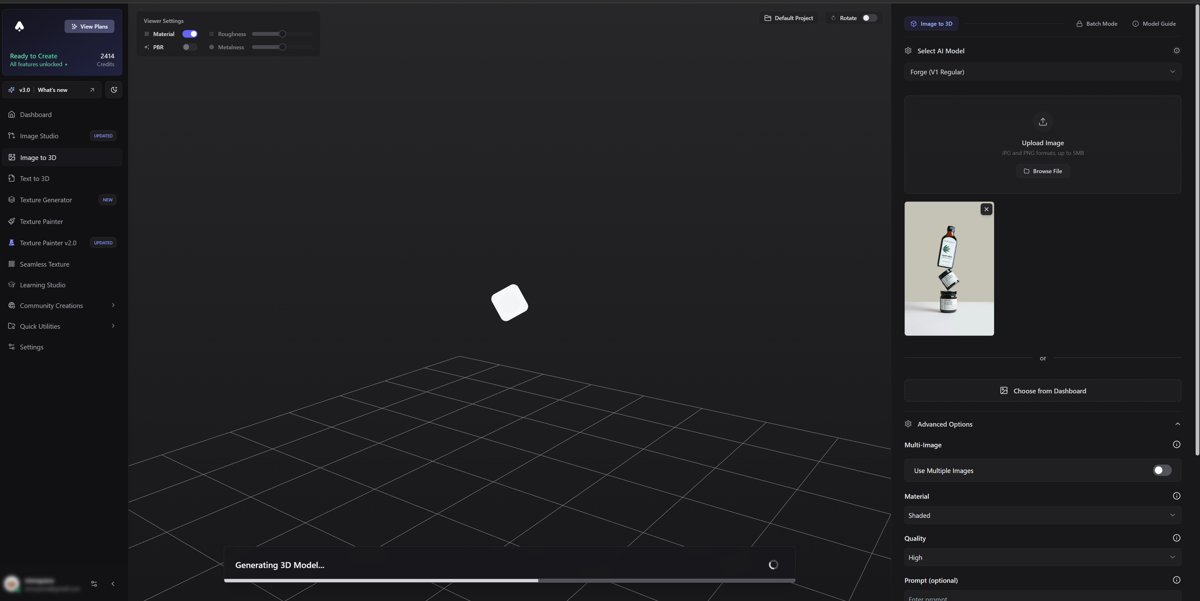
Upload & choose “Image to 3D Model.” The engine parses depth from shading and silhouette.
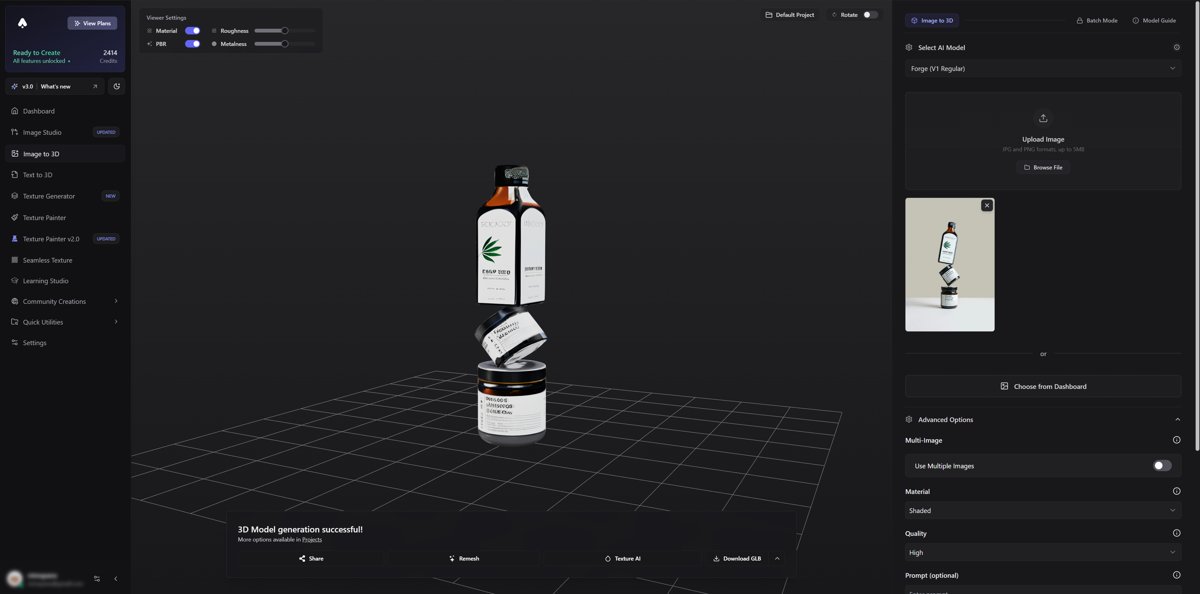
Review the real-time preview. Pan, zoom, and spot obvious holes. If needed, click “Enhance Detail,” which runs a secondary pass for fine features like embossed text.
Pick STL as the target. Under “Export,” tick “Watertight STL.” The platform automatically thickens walls below 0.8 mm-handy for FDM printers.
Download. You now have a repair-free file ready for slicing.
That’s it. The interface hides most of the heavy calculations behind a concise UI-no vertex-count sliders to wrestle with.
Post-Processing the Mesh #
Even a solid AI conversion benefits from a once-over in a mesh editor or slicer.
- Check for non-manifold edges - Cura’s built-in mesh fix flag will highlight these in red. Usually, one auto-repair click suffices.
- Uniform scaling - Photo-based models arrive in arbitrary units. Measure a real dimension on the product and scale accordingly in millimeters.
- Hollowing vs. solid - For bulky decorative pieces, hollowing cuts print time. Most slicers allow you to set wall thickness (≥2 mm is safe) before generating support structures.
- Add a flat base - If the captured object has an irregular bottom, slice 1 mm off the Z-axis in Netfabb or Meshmixer; you’ll avoid rocking prints and first-layer failures.
Slicing and Printing #
Send the STL to your preferred slicer. PLA at 0.2 mm layer height with 15 % gyroid infill covers 90 % of consumer product replicas. For functional parts under load, PETG or ABS and infill ≥30 % are advisable. Remember to orient the model to minimize overhangs-AI-generated pieces can have unexpected cavities.
Two Quick Resources for Deeper Reading #
If you run a Mac-only setup, check our breakdown of the best photo-to-3D model apps for macOS. Need to start from a transparent PNG logo instead? Our guide on converting a PNG into a full 3D object walks through that workflow, including extrusion settings.
Get started #
Ready to turn that product shot into a tangible prototype? Drop it into 3D AI Studio and get a watertight STL in minutes-no 3D modeling experience required. 3D AI Studio
FAQ
Can a single photo really create an accurate 3D printable model? #
Yes, but “accurate” is relative. AI algorithms estimate depth from shading and outline cues, producing convincing geometry for visual or decorative prints. For critical dimensions, you’ll need either multiple reference images or manual CAD tweaking to hit tolerances below ±0.3 mm.
How large can the final STL be? #
Most AI services cap exports around one million triangles to balance performance and file size. That equates to roughly a 200 MB STL. If your slicer struggles, decimate the mesh to 300 k-500 k faces in Meshmixer; detail loss is minimal at common print resolutions.
Why does my STL look hollow or inside-out in the slicer? #
AI generators sometimes flip normals or omit internal thickness. Run “Make Solid” in Meshmixer or “Fix Oriented Surfaces” in PrusaSlicer. Export again, and the preview should show proper infill paths.