
How to Convert a PNG into a 3D Model: A Step by Step Guide 2025
How to Convert a PNG to a 3D Model in 2025 - Fast, Online, No Headaches #
TL;DR: Upload your PNG to an image-to-3D web service, let the AI build a base mesh, run a quick remesh for cleaner topology, then export to the format your downstream tool needs - you can be unwrapping, texturing, or even 3D printing in minutes.
Why go from 2D to 3D at all? #
Turning a flat picture into a 3D model sounds almost like magic, yet it unlocks real-world value: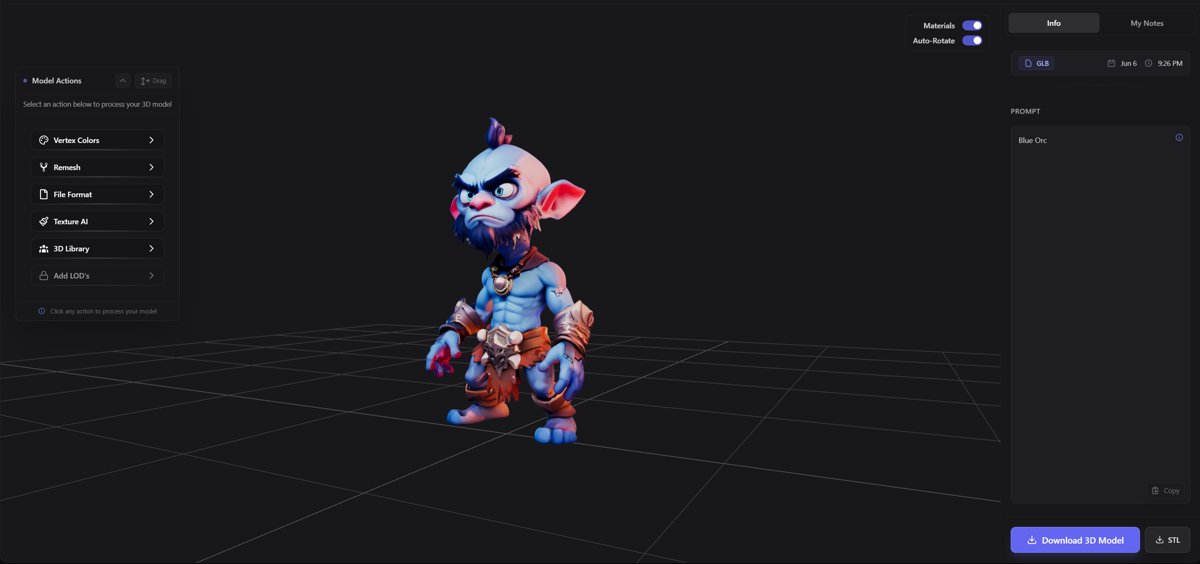
- Rapid visualization - Designers can preview products in 3D before any physical prototype exists.
- Low-effort asset creation - Game devs and AR creators convert sketches or concept art straight into usable meshes.
- Easier iteration - Changing a PNG is often faster than re-sculpting in ZBrush; once the pipeline is set, you swap the image and regenerate.
- Cost savings - No need for a full photogrammetry setup or sculpting hours when one good image can do the heavy lifting.
The good news: modern AI tools do the heavy lifting. You focus on picking the right picture, checking scale, and deciding how far you want to polish the output.
The 4-step online workflow #
Below is the stripped-down, works-every-time sequence you‘ll use no matter which platform you prefer:- 1 Choose an image-to-3D web tool that accepts PNG (AI-based generators are fastest).
- 2 Prep the PNG: high resolution, clear silhouette, neutral background if possible.
- 3 Upload and let the service create a mesh; inspect the preview, then run built-in remeshing for clean topology.
- 4 Export to OBJ, FBX, GLB, or STL and move on to texturing, rigging, or printing.
That’s it. Let’s dig into each phase.
Pick the right image-to-3D service #
- Traditional photogrammetry - Needs multiple photos taken from different angles; great for realism, but hardly “one PNG.”
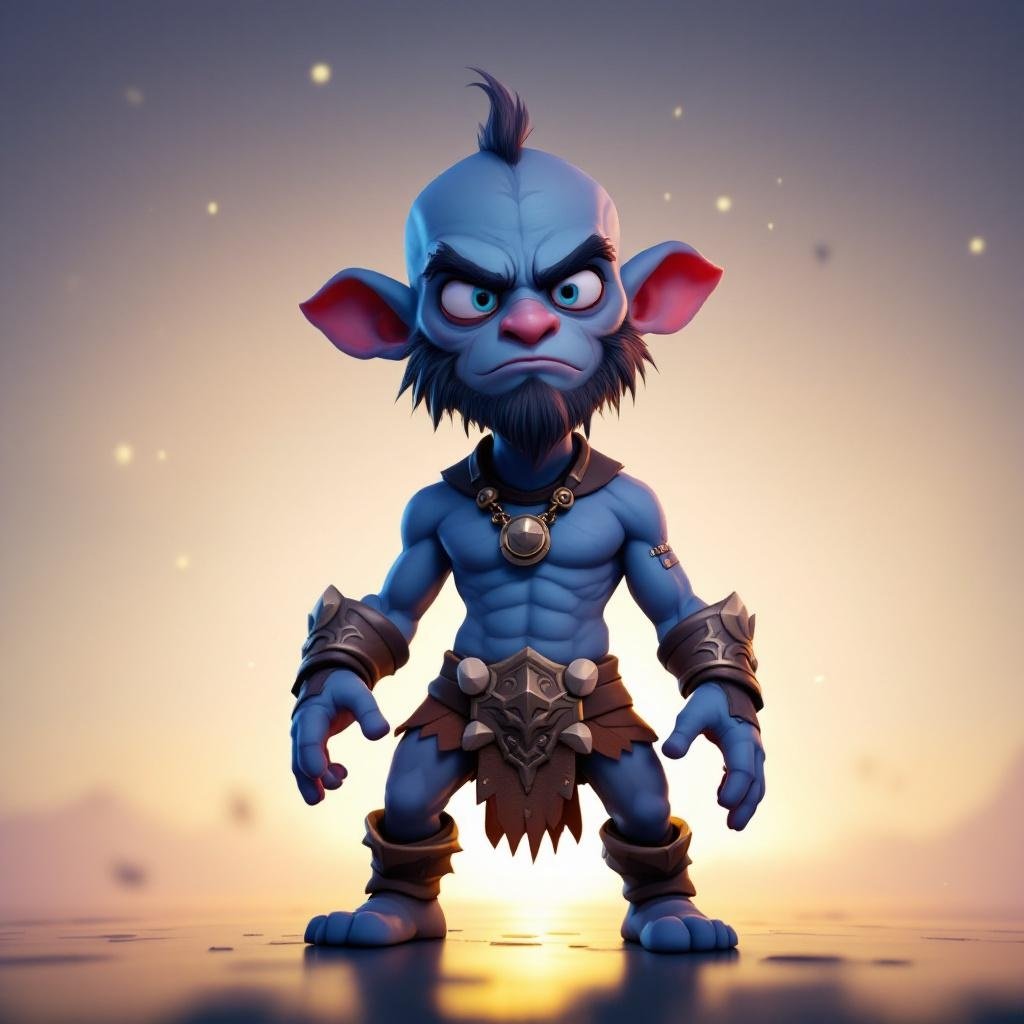
- AI single-image reconstruction - Feeds one PNG through deep-learning models that predict missing depth. Perfect when you only have a single front view.
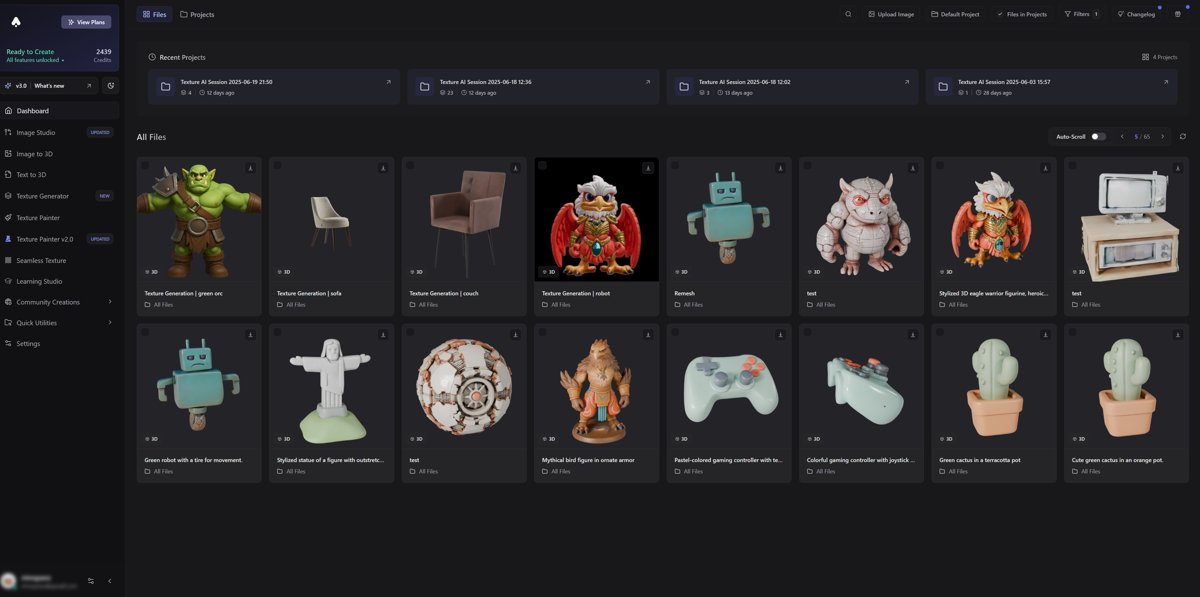
For the single-image route, an all-in-one platform such as 3D AI Studio hits the sweet spot: drag-and-drop upload, automated mesh generation, optional texturing, plus the same interface lets you fix topology or produce UVs later. Because you’re working purely online, there’s zero hardware setup.
Prepare your PNG (it matters) #
- High contrast silhouette - A busy background confuses edge detection. Erase or mask it if necessary.
- Resolution over 1024×1024 - Fine details like fingers or antennae vanish in low-res images.
- Front or 3⁄4 view - Straight profile often lacks enough cue for depth; a slight angle retains recognizability while providing more spatial hints.
- Consistent lighting - Harsh shadows can be misread as geometry; diffuse light keeps things predictable.
If you can spend three minutes in Photoshop removing the background and bumping brightness, do it. The cleaner the 2D source, the fewer edits you’ll do later in the 3D stage.
Generate and inspect the base mesh #
- Overall silhouette - Does it match the shape in the PNG?
- Surface artifacts - Strange spikes, potholes, or paper-thin planes usually appear in low-contrast areas.
- Polycount - A first-pass mesh can be dense (100k+ faces). High density slows you down in Blender or Unity.
If the outline is wrong, go back, refine the PNG, and rerun the generator. It’s faster than manual sculpt fixes.
Remeshing for clean, usable topology #
Within 3D AI Studio’s dashboard you can:
- Set target polycount - 5k to 10k for real-time games, higher for offline rendering.
- Preserve hard edges - Keep crisp borders on mechanical parts while still reducing internal density.
- Auto-UV unwrap - Simultaneously generate UV maps if you plan to texture inside Substance 3D Painter or the Studio’s own texturing tab.
- Why it matters - Clean topology deforms better when rigged, bakes normals cleanly, and exports without drama. If you skip this and later decide to 3D print, slicers may choke on non-manifold geometry, adding hours of fix time.
Exporting: pick the format that fits downstream #
Most modern tools accept multiple mesh formats. Here’s a pragmatic decoder ring:| Scenario | Best format | Notes |
|---|---|---|
| Game engines (Unity, Unreal) | FBX | Supports animation, materials |
| Web/AR viewers | GLB/GLTF | Compact, texture-friendly |
| 3D printing | STL | Geometry only, no textures |
| General DCC workflow | OBJ | Widest compatibility |
Quick tip on scale #
AI tools don’t always know how large your object should be. Before exporting, set a reference measurement (e.g., “body height 180 cm”). The scale metadata then rides along inside FBX or GLB so downstream apps read it correctly.Where texture fits in #
A single PNG often contains color information for only the visible side. Two paths exist:- Project existing pixels - The system wraps the color data onto surfaces it can see, filling hidden areas with educated guesses.
- Generate brand-new textures - AI image generators inside the platform can create 2D texture maps that tile across the entire mesh, good for stylized props or game assets.
The second option produces more uniform results. Because you stay in the same interface, you can iterate: tweak texture prompts, re-bake, check in the viewport, all without leaving the browser.
For a deeper dive into working with textures, the post on designing custom 3D printed toys shows how UVs and textures affect final print quality.
Putting the model to work #
Once you have the OBJ, FBX, or GLB it’s open season:- AR marketing - Drop the GLB onto a product page so shoppers can spin it in 3D.
- Game prototyping - Plug the FBX straight into Unity, slap on a standard shader, and you have an interactable prop.
- Physical prototypes - Slice the STL in Cura, print, sand, and paint. For hollow shells, auto-thickening tools in 3D AI Studio save filament.
If you’re exploring hobby ideas like action figures, check the section on poseable joints in the same step-by-step toy guide - it dovetails nicely with the PNG-to-3D pipeline.
One-click enhancements inside 3D AI Studio #
Beyond remeshing and texture generation, the Studio offers:- Image-to-image edits - Mask parts, swap colors, regenerate only that region.
- Style transfer - Give your mesh a cel-shaded, watercolor, or photoreal skin without manual painting.
- Batch conversion - Upload a folder of PNGs, walk away, come back to a library of models.
These extras reduce the “back-and-forth friction” common when juggling multiple apps.
Final thoughts #
Converting a lone PNG into a polished 3D model used to be a niche, research-lab process. Today it’s browser-based, near-instant, and accessible to anyone who can drag and drop a file. Nail the source image, lean on AI for the heavy lifting, tidy up with remeshing, and choose the right export format. That’s the formula.When you’re ready to try it, 3D AI Studio is the fastest path from flat picture to clean 3D mesh - no installs, no GPU gates. Sign up, upload, and start exploring.
Mini-FAQ #
How accurate is a 3D model created from a single PNG? #
Accuracy depends on two factors: the clarity of the PNG and the sophistication of the AI reconstruction. A high-res image with a clear silhouette can yield a model that is 90 percent faithful in shape, though fine back-side details remain approximations. For product visualization or concept art, this is often good enough. For engineering-grade replicas, you’ll still want multiple photos or manual CAD work.Which export format works best for 3D printing? #
STL is the de-facto standard because it stores pure geometry without color data, keeping file size small and slicer compatibility high. After exporting, open the STL in a slicer like Cura or PrusaSlicer, check wall thickness, fix any non-manifold edges, and you’re set to print.Can I animate a model that started as a PNG? #
Yes, as long as the mesh has clean topology. After exporting to FBX, import into Blender or Maya, add an armature, and skin the mesh. Uniform quads from the remeshing step deform predictably under joints, making walk cycles or simple rotations feasible without heavy weight-painting rehab.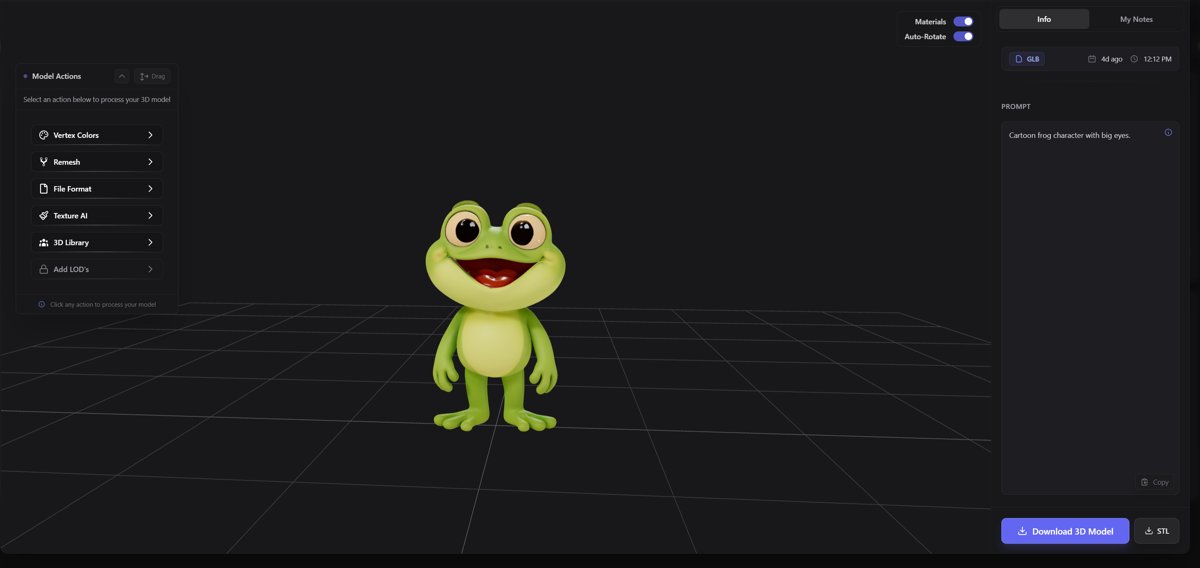
Ready to see your 2D artwork spin in full 3D? Give it a try at 3D AI Studio and turn imagination into geometry in minutes.