Designing Custom 3D Printed Toys: A Step-by-Step Guide
From Sketch to Shelf: Designing Custom 3D Printed Toys with AI #
The challenge-and why AI changes everything #
Turning a playful idea into a tangible toy traditionally demands many hours inside professional 3D modeling software, followed by trial-and-error on a desktop printer. Steep learning curve, slow iteration, and high failure rates often deter makers who simply want to hold their unique figurine, puzzle, or gadget in hand.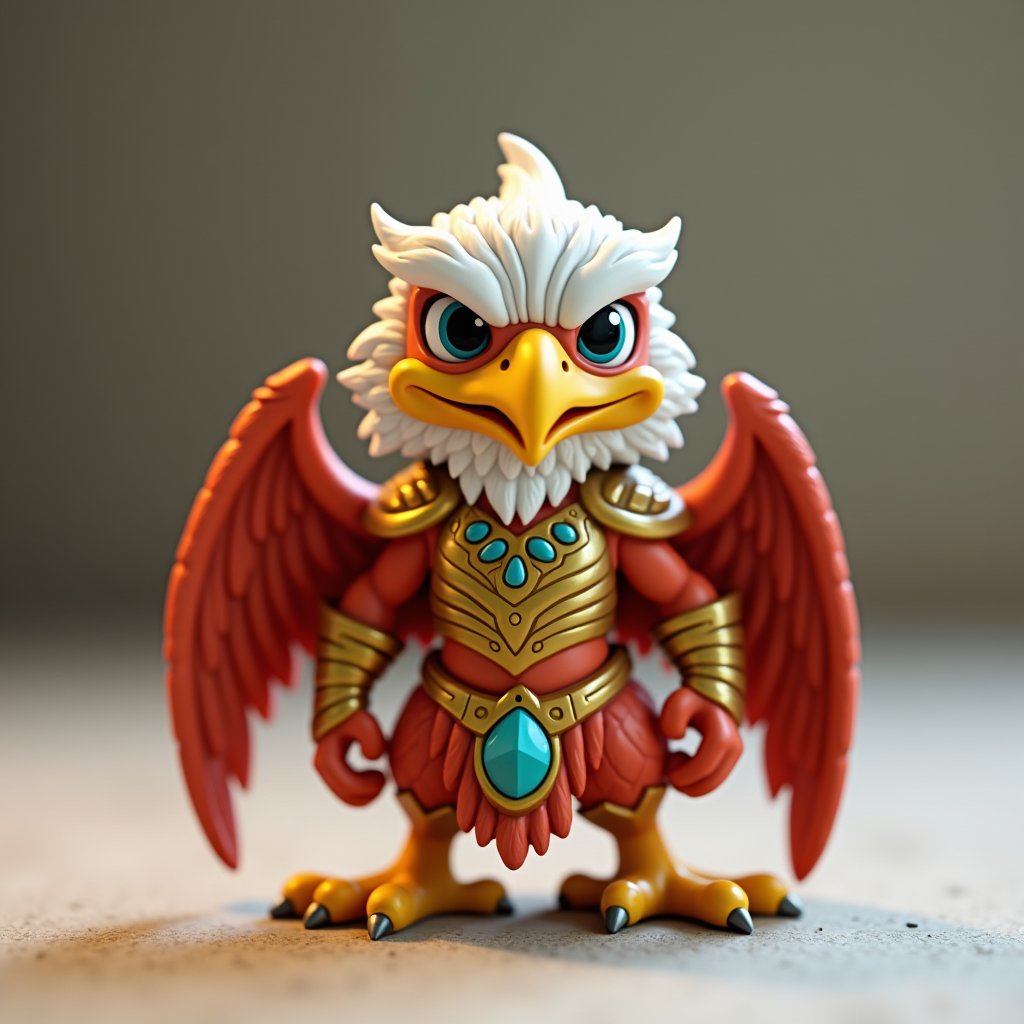
AI-powered workflows remove most of that friction. With 3D AI Studio, you can start with a simple sketch, let AI handle the heavy 3D work, and still keep full creative control before you hit “Print.” This article walks you through an easy, start-to-finish pipeline that anyone-artist, engineer, or weekend hobbyist-can follow.
Quick-start overview #
Ready to dive in? Here’s a simple, four-step outline we’ll walk through:- 1 Sketch or upload your toy concept in Image Studio → Sketch section.
- 2 Transform that sketch into a polished concept image with a single prompt.
- 3 Click “Load into Image to 3D,” choose Prism 1.5, and let AI generate the mesh.
- 4 Remesh to OBJ or STL, slice, and send to your printer-optionally adding vertex colors if you own a multi-material machine.
The next sections dig into each stage, add safety notes, and share small tips that save filament and frustration.
End-to-end workflow inside 3D AI Studio #
Rough sketch: capture the big idea #
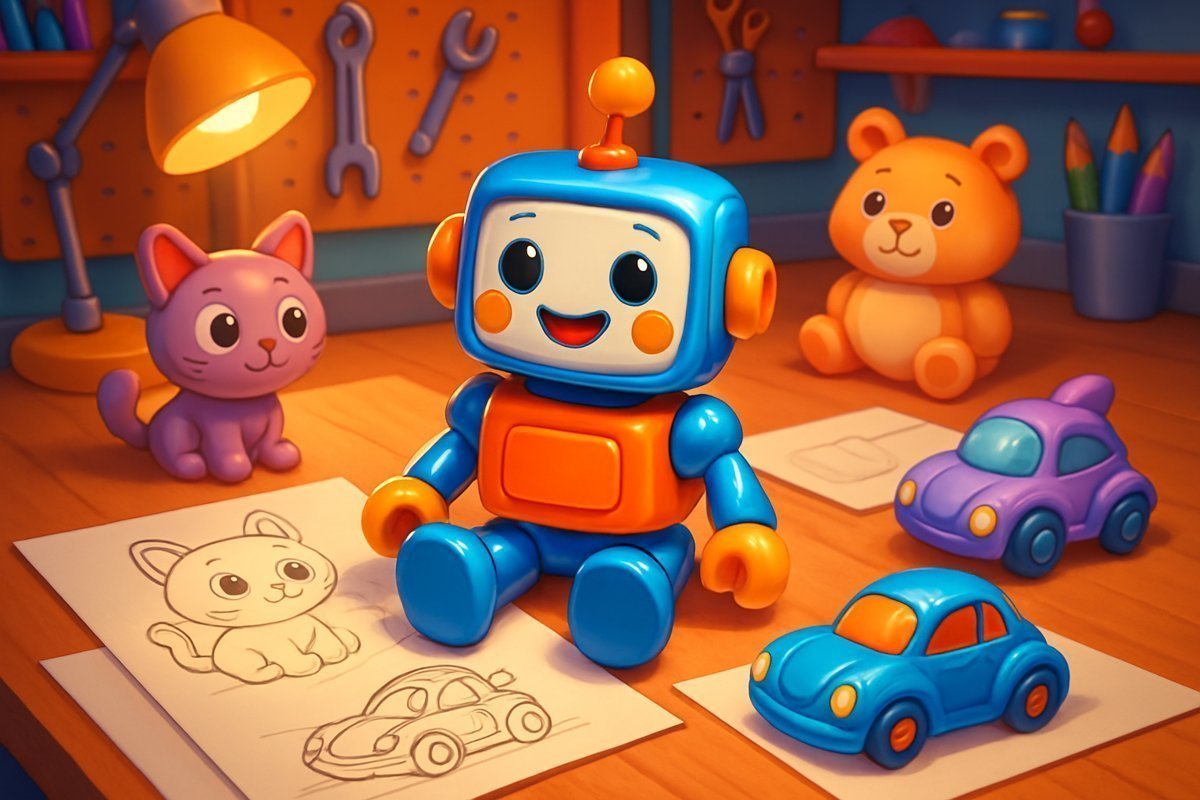
Most memorable toys begin as rough line art-think blocky robot silhouettes or chubby fantasy creatures. In the left sidebar choose “Image Studio,” then open the Sketch category. Two tools stand out:- Sketch → Image converts uploaded line art.
- Paint & Transform supplies an in-browser canvas so you can freehand with a stylus or mouse.
After you drop in or draw the outline, supply a brief style prompt such as “clean comic lines, proportioned for a 100 mm tall vinyl figurine.” Keep it short; you only need enough direction for AI to respect the silhouette. Hit Generate. The cost and credit countdown appear at the footer so you know exactly what you spend before committing.
- Iterate rapidly - Because additive manufacturing cares about overhangs and wall thickness, spend a minute checking that limbs are not thinner than a pencil and that any protrusions are supported by the body mass. You can erase or redraw in the Sketch canvas and regenerate in seconds.
Turn the sketch into a polished concept image #
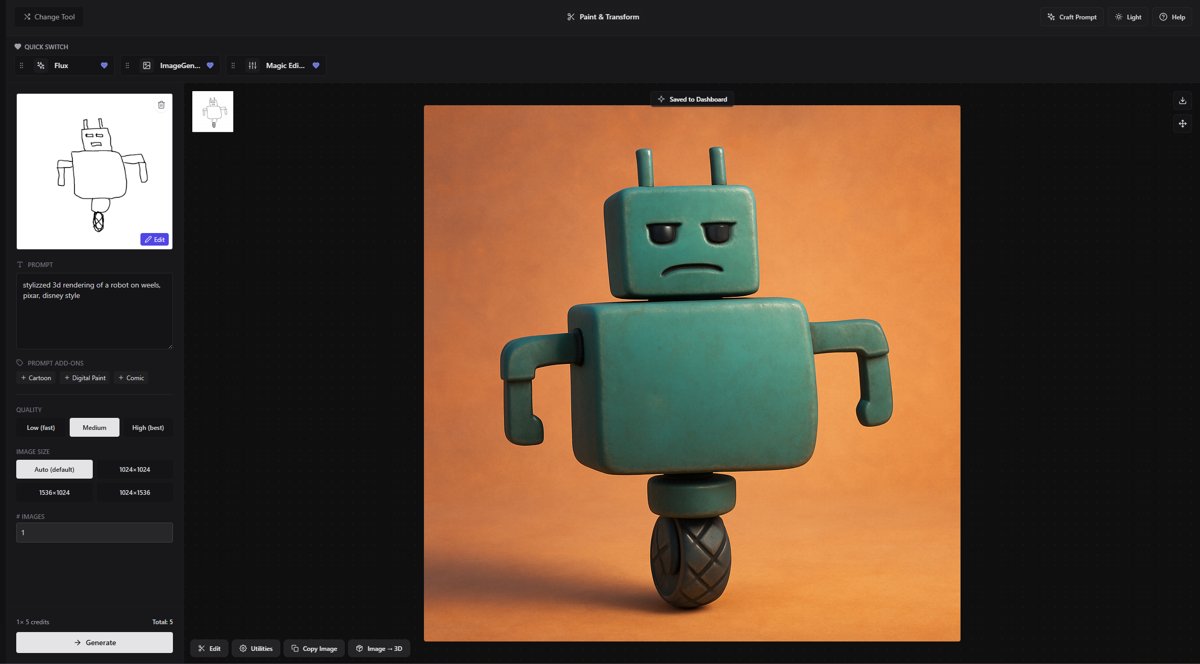
With a solid outline in place, stay inside Image Studio but switch to the Convert category, “Stylized 3D Render.” Paste a short prompt:> “Turn this into a stylus 3D rendering of a cute retro robot figurine, orange plastic, glossy finish.”
The model unwraps the lines into a fully shaded render-useful both as design validation and as marketing artwork if you plan to sell prints.
- Non-destructive editing - If the lighting or pose is off, click Process on the image card, choose Magic Edit, mask the area, and describe the fix (“rotate antenna 15° left”). Because every revision stacks as a version, you can roll back if you overshoot.
Once you are happy, press “Load into 3D” (or “Load into Image to 3D” if the button label shows that wording). The still image becomes the seed for mesh generation.
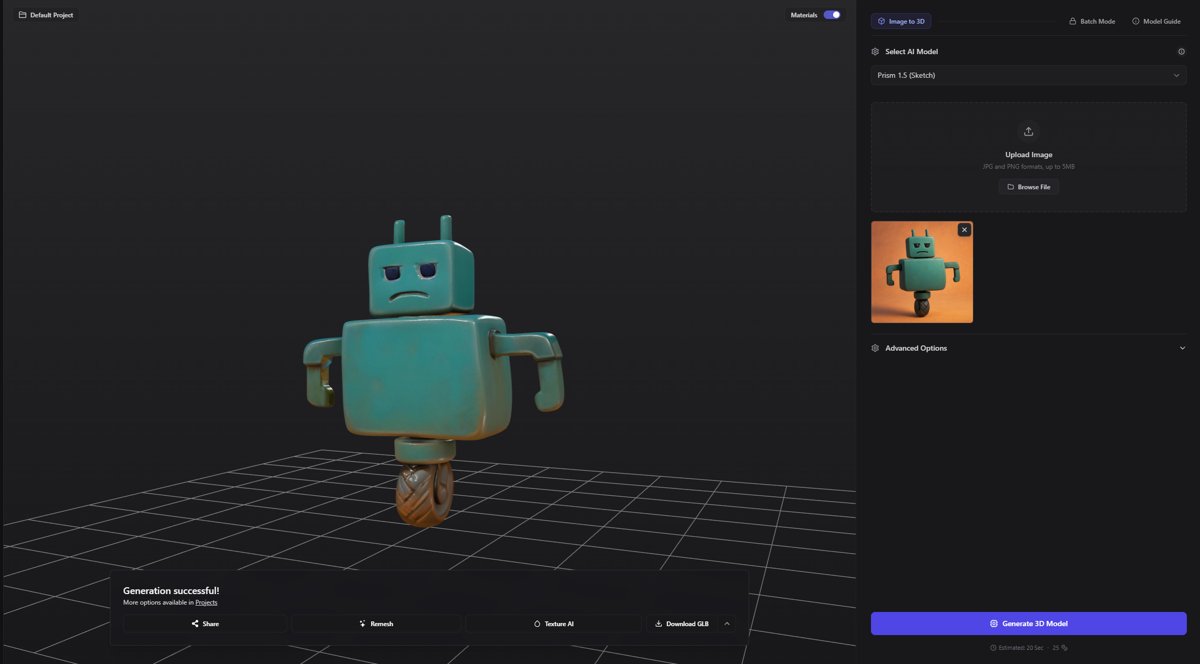
Generate a printable mesh with Image to 3D #
The Image to 3D workspace opens automatically with your concept pre-loaded. In the right-hand panel, pick the AI model. Prism 1.5 is the recommended balance between geometry fidelity and run-time-most toys resolve in 40-50 seconds. Confirm that “Enable Texture” is on; even if you plan to print in single color, textures help visually debug features later.Advanced toggles worth noting:
- Auto Size should stay enabled so the finished model scales to reasonable real-world dimensions.
- Face Limit leave blank unless you need heavy decimation for a very small print.
- PBR can stay ticked; you will still get a usable STL even if your slicer ignores the maps.
Press Generate. A progress ring appears over the viewport, then your mesh materializes, lit with a default three-point rig. Rotate the camera and verify that problematic undercuts or fragile spikes do not exist. If they do, use Undo and slightly rewrite the prompt: “thicker legs, integrated base plate.”
Optional: add color with vertex painting (Beta) #
Collectors love full-color prints, and many desktop machines now accept multi-material assemblies or soluble interface layers. Switch to the Dashboard, hover over the new 3D card, and click Process → Vertex Colors. The feature is currently in beta; you unlock it once you join beta in Settings. Press Start, wait a few moments, and the system bakes your textures into per-vertex RGB values-ideal for color-capable SLA or binder-jet printers.- Minimal file size - Vertex painting embeds color data directly in geometry, so your OBJ or GLB travels light when you share it online.
Remesh and export #
Last technical step before slicing is to produce the format your printer driver prefers. In Model Actions choose Remesh. Typical toys print flawlessly at 5000-8000 faces; drag the Mesh Density slider until the target falls in that range. Tick STL or OBJ, keep Vertex Cleanup and Structure Repair on, then click Start Remesh. The new, lightweight file lands as a sibling card.- Triangulate Mesh - Turn this on if you plan to assemble articulated parts in a mechanical CAD package later. Triangles eliminate any downstream quad-conversion surprises.
Download the asset and import it into the slicer of your choice-PrusaSlicer, Cura, or Bambu Studio all ingest STL and OBJ without fuss.
- Recommended slicer settings - Start with 0.15 mm layer height for smooth surfaces, 15 percent gyroid infill for strength, and a brim on small-footprint models. If your design has overhangs beyond 45°, auto-generate supports and, where possible, set them to “everywhere but build-plate” so they break away clean.
Once the slicer finishes, export G-code, load it to the printer, and watch your AI-authored toy take shape.
Practical design considerations for strong, safe toys #
AI accelerates ideation, but plastics obey physics. Before you hit Print on a big batch, sanity-check the following:
- Minimum feature thickness - Keep walls at 1 mm for PLA and 1.5 mm for resin. Thin fingers look great in the render but may snap under a child’s grip.
- Tolerance for joints - For snap-fit arms or spinning wheels, leave 0.3-0.4 mm gap between moving parts. You can insert this in the prompt: “include 0.3 mm clearance on rotating hip joint.”
- Support removal - Very small gaps or recessed eye sockets can trap support material. If the Image to 3D preview shows such geometry, request “eye sockets 2 mm deep maximum, back open” so air and pliers can reach.
- Material choice - PLA is inexpensive and non-toxic, but it warps under summer car temperatures. PETG offers more toughness, while TPU adds soft, rubbery feel. The downstream slicer not the AI decides material, yet designing flexibility into the model (for example, hollow sections) gives you options later.
- Age rating - If your toy targets toddlers, avoid tiny detachable parts. AI sometimes invents intricate earrings or slim antennae; either bulk them up or delete them with the Studio’s mesh slice tool.
Credit cost, turnaround, and iteration etiquette #
Generation time for a 100 mm figurine using Prism 1.5 rarely exceeds a minute, keeping the entire ideation-to-print loop under an hour. Staying mindful of credits still matters:- Reuse your concept image - Once you like the front view, you can produce multiple thematic variants (“winter paint scheme,” “steampunk repaint”) with Magic Edit in Image Studio at a fraction of full 3D cost.
- Preview with Swift - If you are unsure about silhouette, generate a Swift mesh first. It costs fewer credits and delivers geometry fast. When satisfied, repeat with Prism 1.5 for final quality.
- Batch mode for accessories - Many toys need interchangeable hats, weapons, or bases. Parent the front illustration into Batch Mode, assigning a single prompt change per accessory. You earn volume discounts on credits, and jobs run concurrently.
When you tie these habits together, your workshop can churn fresh, collectible designs at weekend pace while keeping budget in check.
Conclusion-your idea deserves physical form #
From a doodle on a memo pad to a posable, color-rich figure fresh off the print bed, the process no longer spans months of specialized learning. 3D AI Studio folds sketch recognition, texture synthesis, and geometry generation into one coherent toolchain, so you keep attention on play value rather than polygon topology.Ready to bring your own characters to life? Explore the full creation suite at 3D AI Studio and start printing your imagination.