

Trellis 2: Create Stunning 3D Assets in Just Seconds
Trellis 2 Explained - The Guide to Next-Gen 3D Generation #
Why Trellis 2 is a big step forward... #
Designers, game studios and product teams all want richer 3D assets, but detailed modeling by hand is slow, costly and frankly out of reach for many projects. Even recent AI models stumble on fine geometry (open edges, thin parts) or realistic materials (glass, metal, cloth). Trellis 2, the latest research model now available on 3D AI Studio, tackles those pain points: it produces production-ready meshes plus physically-based textures in seconds, straight from a text or image prompt. This post unpacks Trellis 2 so you can decide when and how to use it.
A 60-second start #
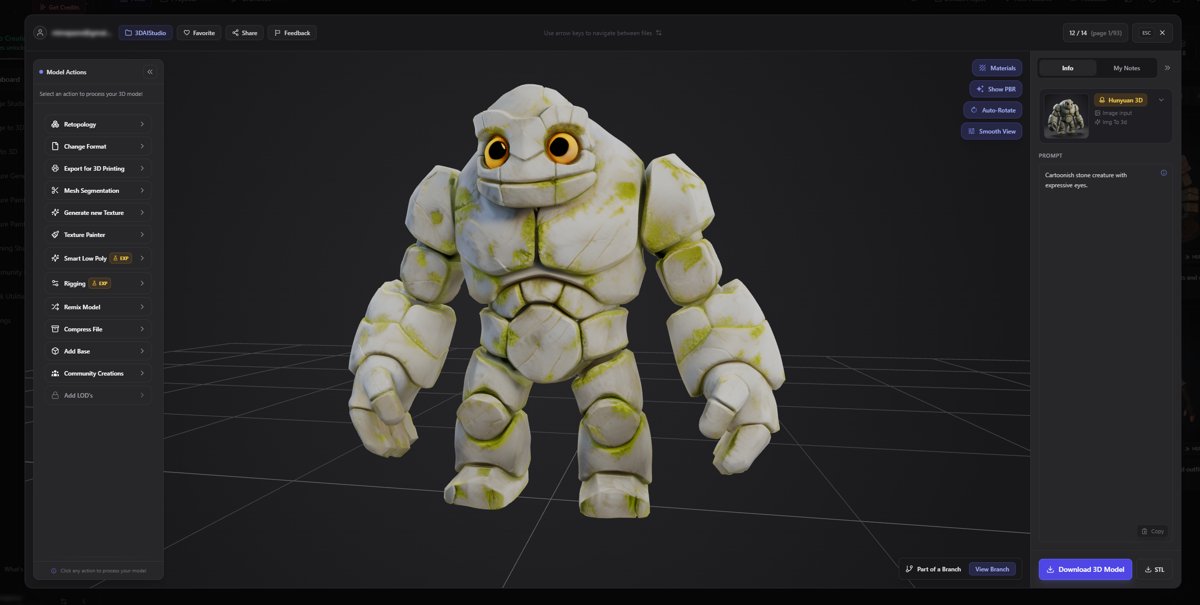
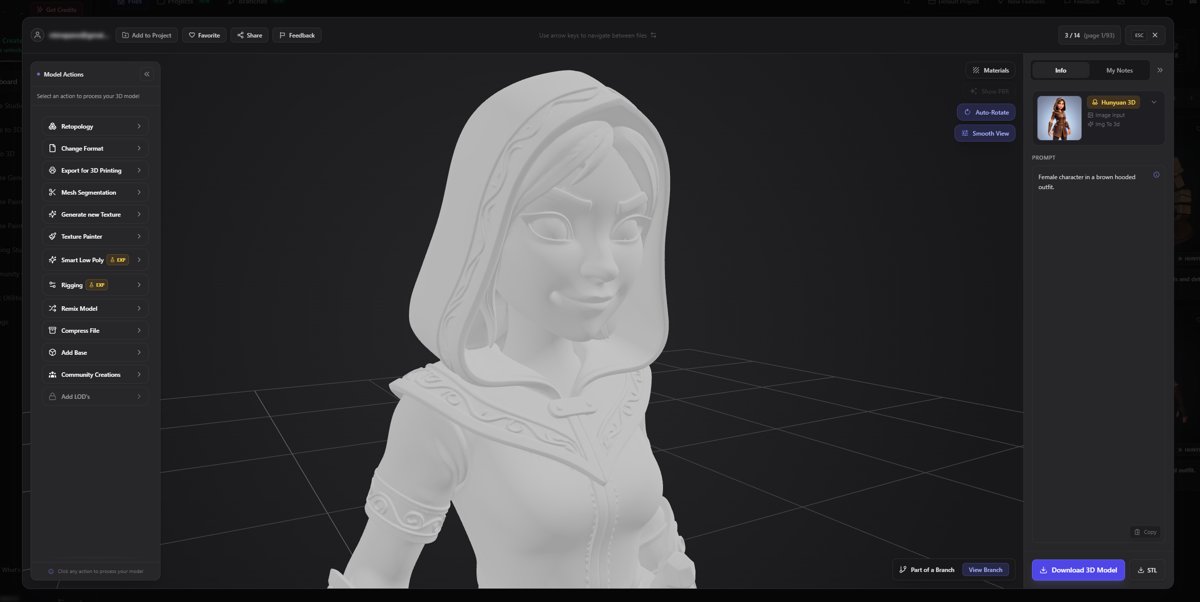
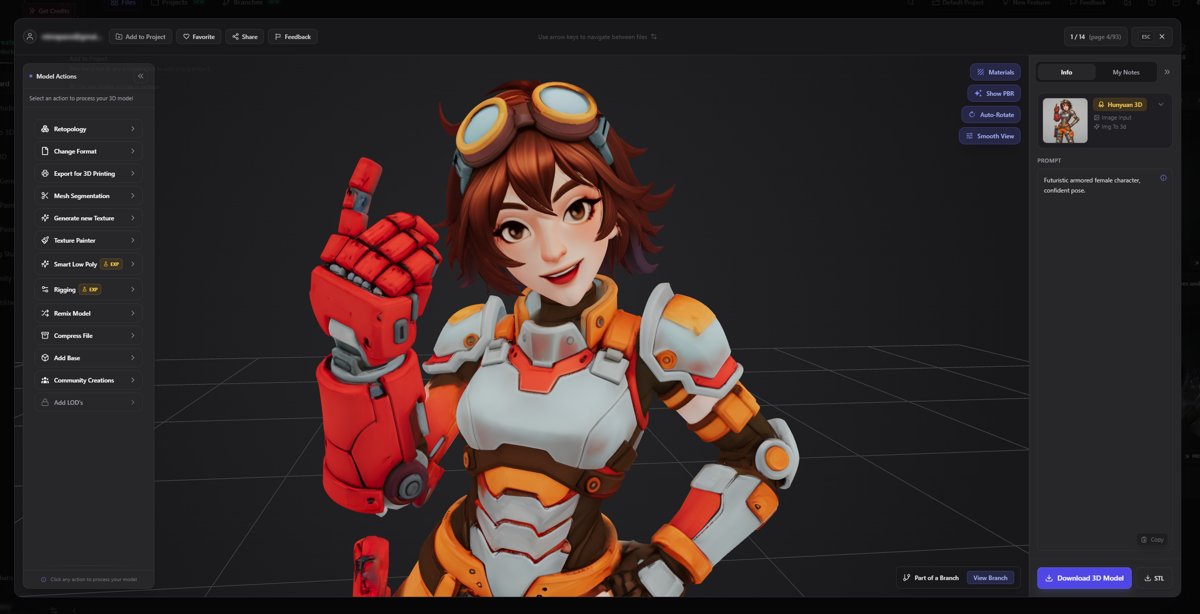
If you only need the workflow, it is literally four clicks:- 1 Open 3DAistudio.com and choose “Generate 3D”.
- 2 In the model dropdown pick “Trellis 2” or another AI model such as Prism 3.0 or Huynuan 3.0, then type your text prompt or upload a reference image.
- 3 Click “Generate”. In ~20 seconds you receive a downloadable FBX, GLB or OBJ with PBR textures.
- 4 Optional: hop to the Edit tab for tweaks or color corrections (see our guide “Master the Edit Tab for Effortless Image Editing in 3D AI Studio”).
Now, let’s dive deeper.
What exactly is Trellis 2? #
Trellis 2 is a large 3D generative model. Think of it as the 3D cousin of popular image tools like DALL-E or Midjourney, but trained to output full-fledged 3D objects rather than flat pictures. It understands both shape and surface, so you get proper geometry and physically-based rendering (PBR) materials in one shot. On 3D AI Studio it shows up as an engine option next to other models, but under the hood it contains about 4 billion learned parameters.Put simply: Trellis 2 reads your prompt, imagines a 3D object that fits the description, and instantly delivers a textured mesh ready for Blender, Unity or the printer.
The core challenge Trellis 2 solves #
Traditional 3D generation models struggle with three sticky problems.- Complex topology - Objects in the real world have holes, overlapping parts, even hidden cavities. Many AI models can only output “watertight” blobs.
- Detailed appearance - A brilliant model without proper material values still looks fake under lights. Metals need a metallic slider, glass needs opacity, fabrics need roughness.
- File size vs. fidelity - High-res voxels capture detail but balloon file size. Point clouds compress nicely but lose sharp edges.
Trellis 2 introduces a fresh internal representation, O-Voxel, and a clever compression trick to meet all three problems head-on.
O-Voxel, the “omni voxel” in human terms #
Imagine slicing a Rubik’s cube into thousands of mini cubes. Each mini cube (voxel) stores two kinds of data:- 1 Geometry - where the surface sits inside the cube.
- 2 Material - the colour, metallic, roughness and opacity at that area.
O-Voxel is special because it uses a sparse grid. Empty cubes are skipped, so memory stays slim. More importantly, it keeps a flexible “dual grid” that can describe open edges, non-manifold bits and even internal structures. That means Trellis 2 can model:
- a coffee mug with a hollow inside,
- a leaf with paper-thin edges,
- or a translucent perfume bottle.
All without cheating or heavy post-processing.
The magic of compression - why results arrive fast #
Storing every tiny cube at screen resolution would explode file size. Trellis 2 avoids that using a Sparse Compression VAE (variational auto-encoder). Think of it as a zip file for 3D:- Smart distillation - The VAE studies millions of objects and learns which patterns repeat (flat panels, screw threads, fabric folds). During generation it only needs to send a few thousand “tokens” instead of millions of raw voxels.
- Speed dividend - Fewer tokens mean less GPU crunching. A fully textured 512×512×512 model streams out in about 3 seconds on a data-centre GPU, and 10243 in under 20 seconds. What matters to you: you click “Generate” on 3D AI Studio, grab a coffee, and your asset is ready.
How Trellis 2 turns prompts into production assets #
A walkthrough of what actually happens behind the scenes when you hit “Generate”.- Stage 1 - Layout sketch - The model blocks out where solid matter exists vs. air. Imagine sculpting a voxel clay silhouette.
- Stage 2 - Geometry detailing - It refines the silhouette with edges, curves and holes, guided by those O-Voxel dual grids.
- Stage 3 - Material painting - Finally, it assigns base colour, metallic, roughness and opacity right inside the same cubes. No baking or multi-view stitching.
Because all three happen in one coherent space, geometry and texture never drift apart. Metals line up with bolts, glass aligns with window frames and so on.
Practical gains you will notice #
When you swap your current 3D workflow for Trellis 2, three things jump out immediately.- Higher realism - Edges stay crisp, small perforations exist, and glass truly refracts light because opacity values are embedded.
- Less clean-up - UV seams are already handled. Most users can drag the GLB straight into Unreal Engine or a slicing app. Our internal tests show an 80 percent drop in manual fixes compared to earlier models.
- Predictable file size - Even a 10243 model remains a few dozen megabytes thanks to the sparsity trick, so version control and cloud libraries stay manageable.
Typical use cases in 3D AI Studio #
Below are the three scenarios we see professionals use most:- Concept iteration - Generate five chair variations, quickly test them in Unity, then lock your favourite for polish.
- Marketing stills & videos - Need a hero shot of a new gadget? Prompt Trellis 2, render the asset directly in Blender, match the lighting and you have multiple angles for the product page.
- Rapid prototyping for print - Designers upload a reference photo, generate a textured 3D model, convert to STL (see “How to Convert Your Product Photo to STL: A Simple Guide to 3D Print”), and 3D-print overnight.
Comparing Trellis 2 to earlier Trellis models #
Trellis 1 wowed people with fast results but often produced rubbery shapes and flat textures. Trellis 2 adds:- Smarter geometry - Handles open meshes like wire baskets.
- True PBR - Metallic, roughness and opacity channels come embedded.
- Bigger scale - Up to 15363 resolution for architectural details if you need it.
The net effect is closer to what a skilled modeler would craft manually, yet it shows up in minutes.
Limitations to keep in mind #
No model is perfect. Here are some trade-offs presented plainly:- Prompt sensitivity - Because Trellis 2 is detail-oriented, vague prompts can yield random extras. Add clear size or material hints for best results.
- Extremely thin parts - Below 0.1 mm in real-world scale may vanish after export, so always check wall thickness if you intend to 3D print.
- GPU licensing - Processing happens in the cloud. Offline or air-gapped workflows still need conversion or re-export.
Best practices for clean outputs #
- Be specific - “Polished chrome espresso machine with glass water tank” gives better geometry cues than “coffee maker”.
- Keep images uncluttered - When using image-to-3D mode, crop out busy backgrounds so the model focuses on the item.
- Use the Edit tab sparingly - Because materials come out physically accurate, small colour tweaks are enough; heavy paint-overs may break the PBR consistency.
For editing tips, the post “Master the Edit Tab for Effortless Image Editing in 3D AI Studio” walks through brush settings and layer masks.
Subtle workflow hacks with 3D AI Studio #
Below are two small tactics power users report:- Quality-compute slider - On export, choose the “Re-render at 1024” toggle. It triggers a hidden second pass that improves sharpness without adding cost to your plan.
- Hybrid remesh - After generation, click “Remesh to Quad + UV” if your downstream app needs quads for sculpting. The conversion respects Trellis 2’s O-Voxel normals, so there is minimal loss.
How to use Trellis 2 online: #
Trellis 2 is now live on 3D AI Studio, and you can start creating 3D models straight from your browser. Just jump onto 3daistudio.com, log in to your account, type in a quick prompt (think “futuristic robot” or “cozy cabin”), pick your style and resolution, and hit Generate. In seconds you’ll have a full-fledged 3D asset ready to preview.FAQ
How is Trellis 2 different from a standard voxel generator? #
Traditional voxel generators store a simple “filled or empty” flag per cube and rarely capture rich surface information. Trellis 2’s O-Voxel format also records exactly where the surface intersects the cube and what the local material properties are. This dual record means the exported mesh preserves tiny grooves, open holes and glass-like translucency, all in one data structure. For users, it translates into assets that render correctly under any lighting without extra UV or texture work.Can I convert a Trellis 2 model to STL for 3D printing? #
Yes. 3D AI Studio lets you export OBJ or FBX from Trellis 2, then convert to STL inside the platform’s “Remesh” panel or in external tools like MeshLab. You can follow the step-by-step instructions in our tutorial “How to Convert Your Product Photo to STL: A Simple Guide to 3D Print”. Remember to inspect wall thickness because translucent parts may export thinner than they appear.What file formats does 3daistudio support, are textures embedded, and can you remesh/retopology and optimize assets online? #
3daistudio outputs GLB, FBX, OBJ, STL and .Blend by default. GLB keeps PBR textures zipped inside, which is handy for game engines. FBX; STL, OBJ, .Blend, etc. come with a companion folder containing PNGs for base colour, metallic, roughness and opacity. On 3daistudio, users can also directly remesh/retopology into other formats and optimize the asset - all directly on the web before final deployment.Ready to move from idea to high-fidelity 3D asset in minutes? Open 3D AI Studio, choose Trellis 2 and start experimenting today.