Master the Edit Tab for Effortless Image Editing in 3D AI Studio

Master the Edit Tab for Effortless Image Editing in 3D AI Studio

General
September 3, 20257 min read

Quick Guide to the Edit Category in 3D AI Studio’s Image Studio #

Editing a picture used to mean juggling layers, masks, and plug-ins in heavyweight desktop software. In 3D AI Studio you can now do most day-to-day photo manipulation-object removal, style transfer, compositing, and more-simply by describing the change in plain language. This tutorial walks you through the Edit category, with a focus on the two flagship models, Gemini Edit and Qwen Edit. By the end you will know how to:

  1. 1
    Pick the right edit model for the task
  1. 2
    Upload one or several images (up to ten)
  1. 3
    Write clear prompts that Gemini Edit or Qwen Edit translate into pixel-perfect results
  1. 4
    Chain edits to prepare assets for later 3D generation or texture work

The Edit Workspace at a Glance #

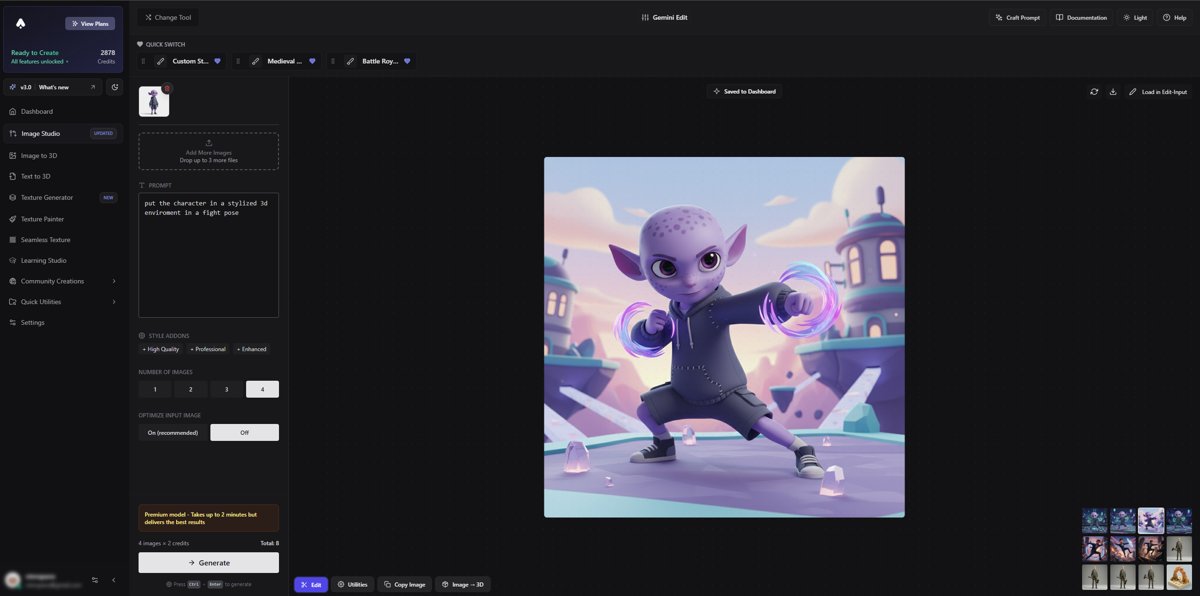
Open the Image Studio and select Edit from the category bar. You will see three model choices-Gemini Edit, Qwen Edit, and Magic Edit. All three handle broad use cases, but Gemini and Qwen consistently deliver the highest fidelity today.

3DAIStudio Edit Interface

Uploading and Organizing Images #

The left panel contains the upload tray. Drag-and-drop or click to add up to ten source images:

  • When you upload one image Gemini or Qwen interprets your prompt as a change to that single picture.
  • When you upload two or more, the first image acts as the primary canvas; the others serve as style or content references. That lets you, for example, lift lighting from photo A and apply it to photo B, or merge elements from several shots into one composite.

Below the prompt box, choose how many variations you want returned. Two or three is usually enough to pick a winner.


Writing Effective Prompts #

Think of each prompt as a focused instruction. You can keep prompts concise or write longer, very detailed prompts when you need to capture more nuance. Avoid broad, unfocused prompts-request a single change at a time, not twenty. If you include multiple edits, describe each in clear detail. A good formula to follow is:

Action + Object/Style + Optional Reference + Mood/Quality

“Remove the telephone pole.” is concise and unambiguous.

Inside paragraphs throughout this guide you will see bold lead-in phrases marking key ideas:

  • Specify the action first - “add,” “remove,” “replace,” “change style.”
  • Name the target - “wooden chair,” “background,” “color palette.”
  • Provide style cues - “watercolor,” “low-poly,” “80s neon.”
  • State quality or mood - “soft,” “dramatic,” “studio-grade sharpness.”

Tight, precise prompts minimize ambiguity and speed up generation, though layering in detailed context or constraints gives you finer control.


Ten Single-Image Examples #

Below you will find ten real-world edits.

InputOutput
Prompt: “turn the sketch into a 3d stylized character in a pixar character style. stay as close to the sketch as possible”

InputOutput
Prompt: “turn me into a 3d stylized figurine like funko pop. keep my outfit the same and it should look like me”

InputOutput
Prompt: “turn the character into a stylized 3d character like a 3d render, redesign it to be stylized 3d.”

InputOutput
Prompt: “Change the character’s pose to a neutral T-pose. Keep the same camera angle and simple white seamless background.”

InputOutput
Prompt: “Change facial expression to be angry. No changes to hair or outfit..”

InputOutput
Prompt: “Create a turntable-like composite: show the same subject at 4 angles on a clean white background..”

InputOutput
Prompt: “add photorealisic materials to this alien bust.”

InputOutput
Prompt: “remove the lamp.”

InputOutput
Prompt: “change the perspective so we look at it from the front.”

InputOutput
Prompt: “Put the character in a stylized 3d desert scene like a pixar enviroment, action pose.”

InputOutput
Prompt: “change the clothes of the character to be in a stylized suite.”

InputOutput
Prompt: “put the orc in a warrior outfit with a helmet, keep the pose the same.”

InputOutput
Prompt: “Re-render the WHOLE image and WHOLE scene in anime cartoon style and shading..”

InputOutput
Prompt: “add leaves and plants around the stones so it looks a bit worn down.”

InputOutput
Prompt: “change the main title text to say 3D AI Studio.”

InputOutput
Prompt: “add an axe in the characters hand fitting the scale and style.”

InputOutput
Prompt: “turn me into a pixar character in a fight scene .”


Multi-Image Composite Examples #

When you supply two input images or more the model will use all images and can do edits.

Image AImage B
Prompt: “put the shield on the right side chest, leaning on it.”

Based on those inputs it generated:

Image AImage B
Prompt: “put both characters in a fight scene together, keep the style.”

Based on those inputs it generated:

Image AImage B
Prompt: “place the orc in the desert scene sitting on a chair in a bored pose, make sure the lighting, scale and style fits together.”

Based on those inputs it generated:

Image AImage B
Prompt: “put the backback on the chair in a fitting way.”

Based on those inputs it generated:


Preparing Images for 3D Generation #

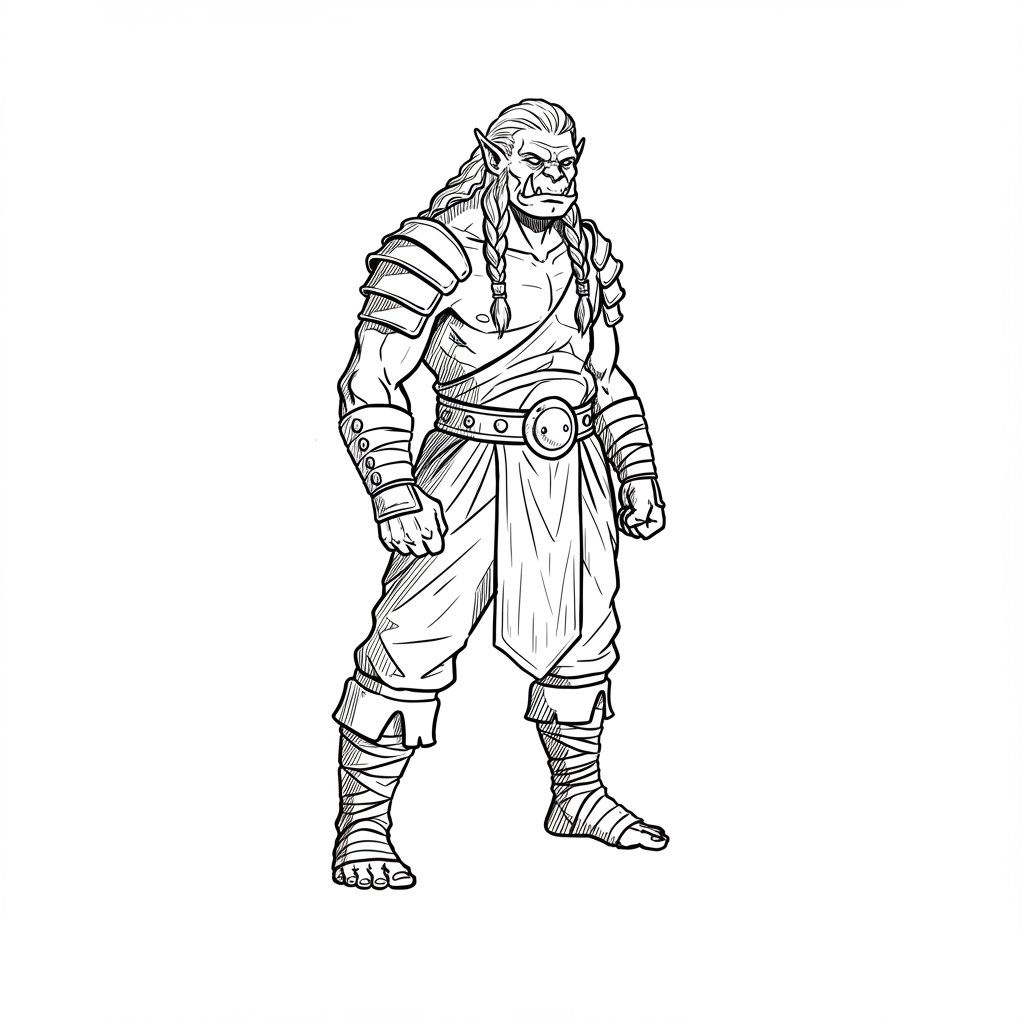
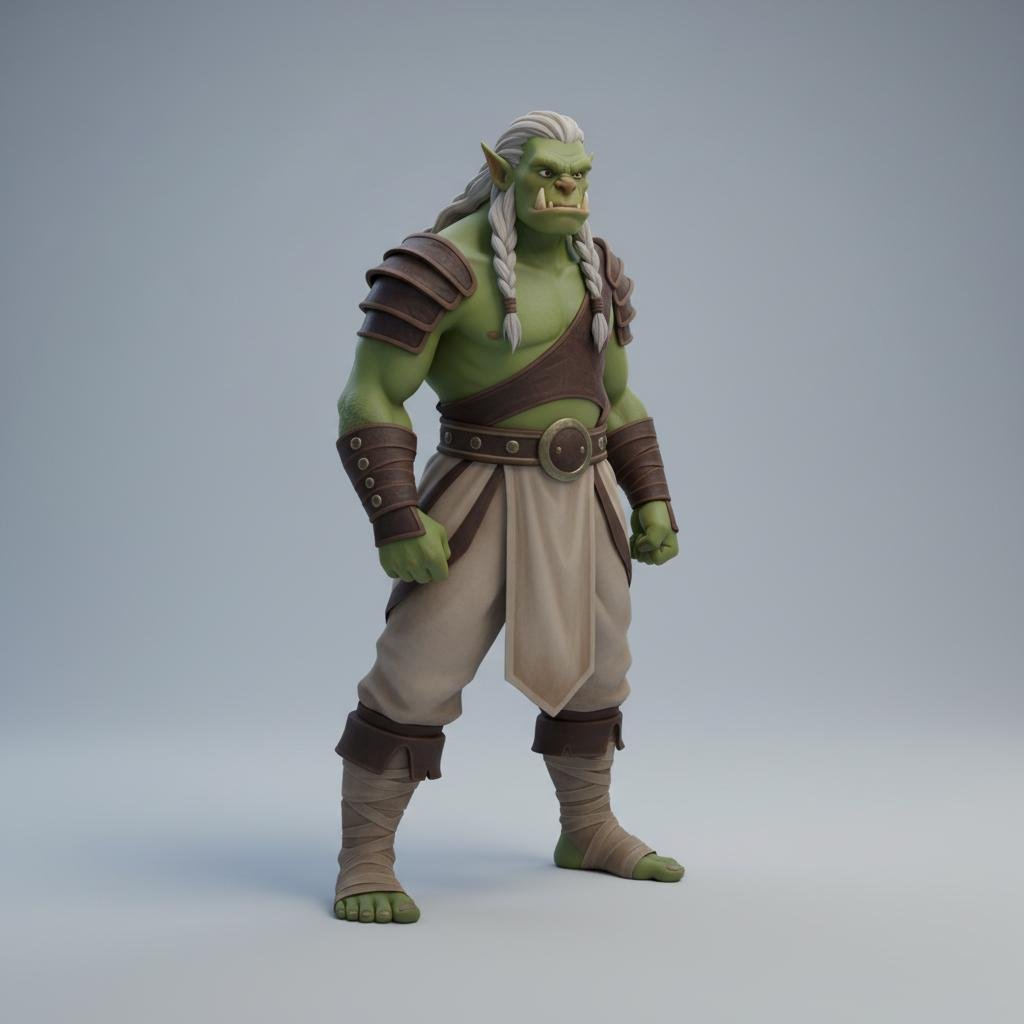
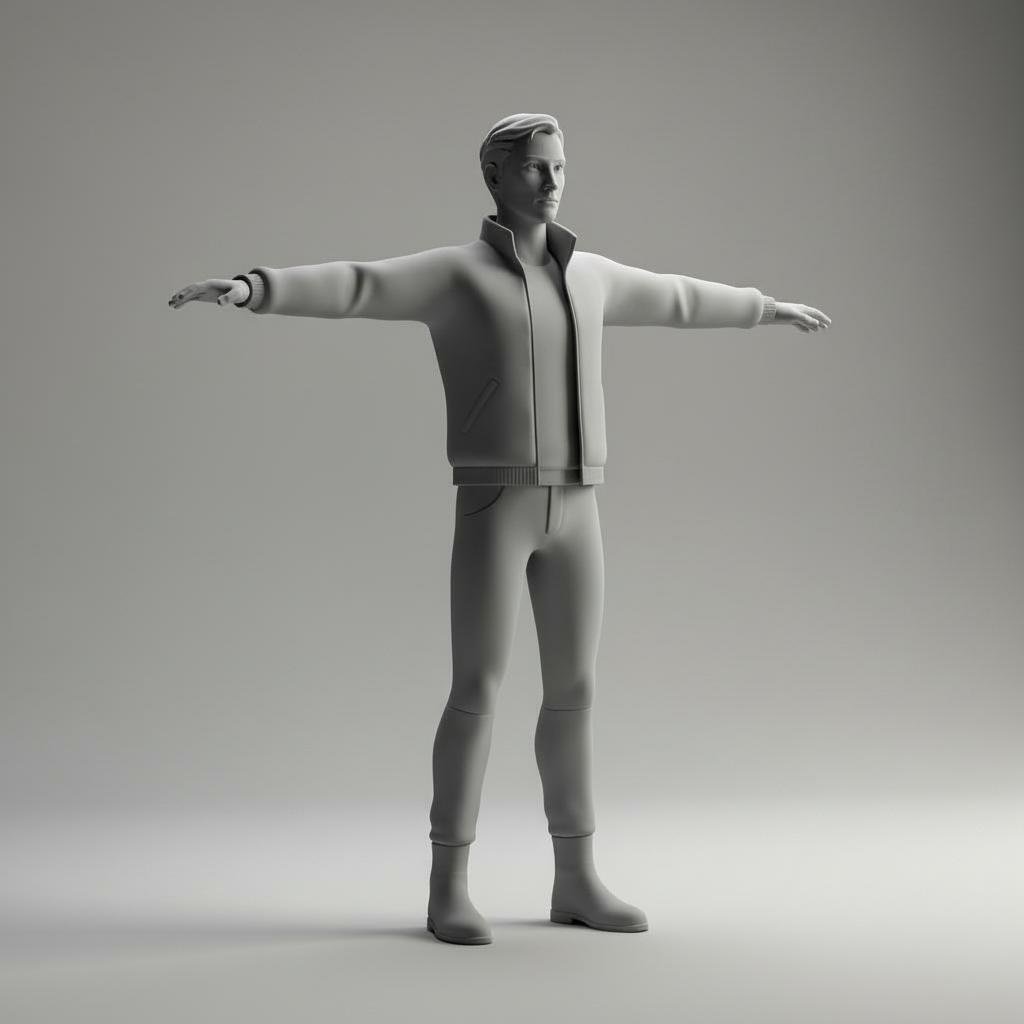
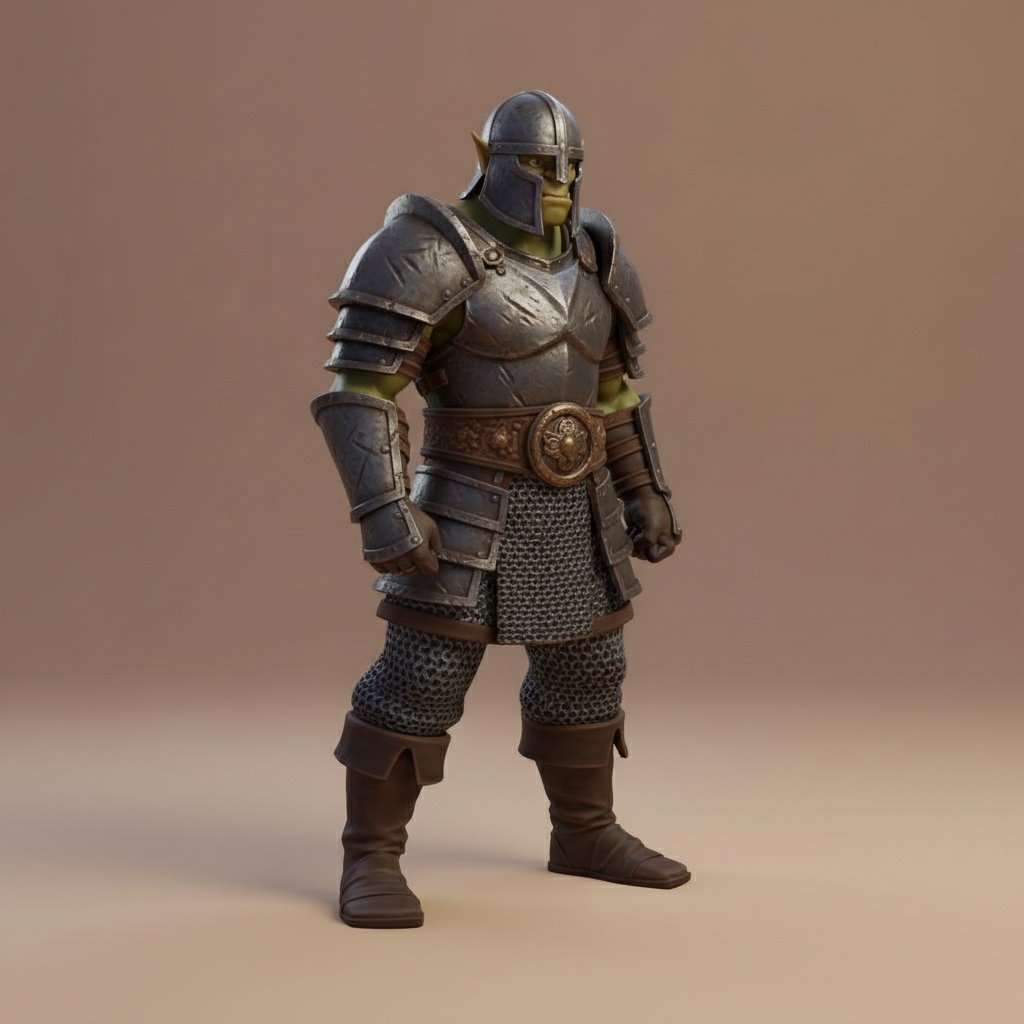
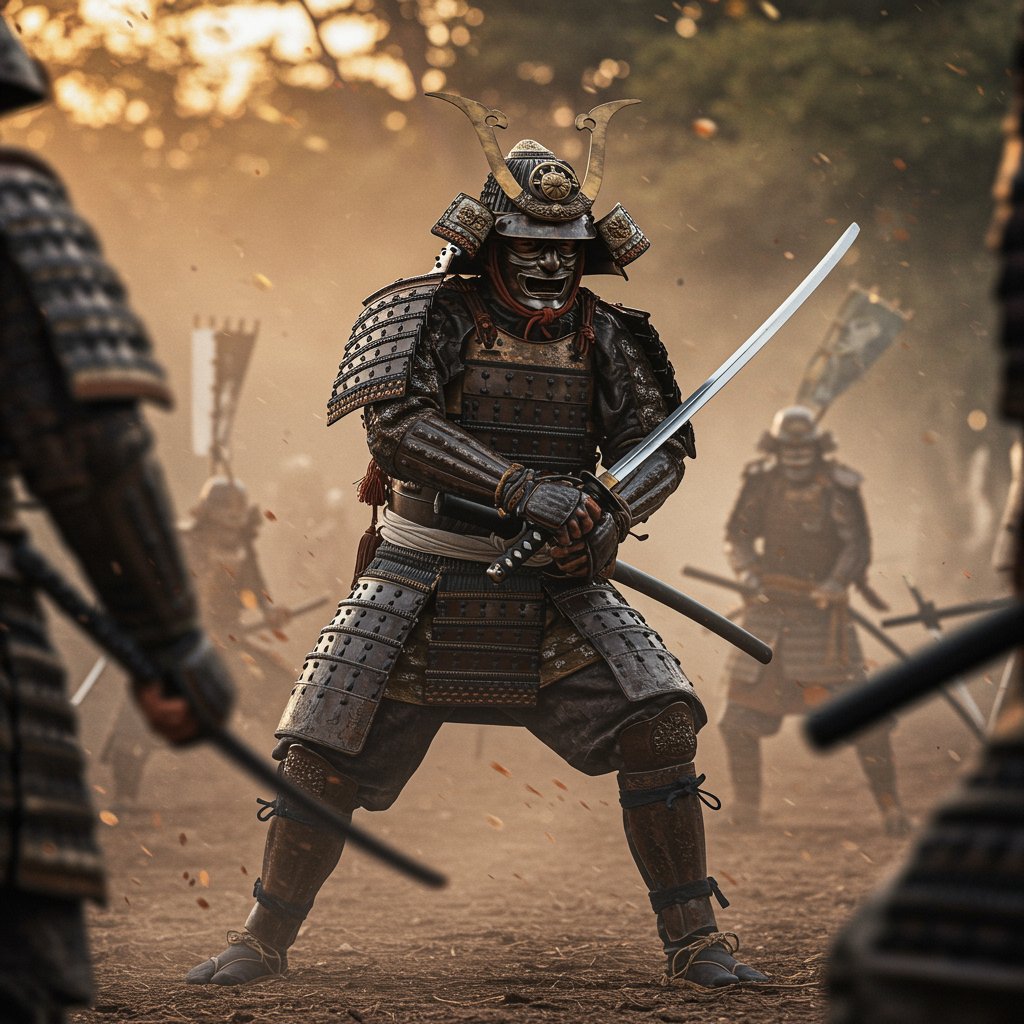
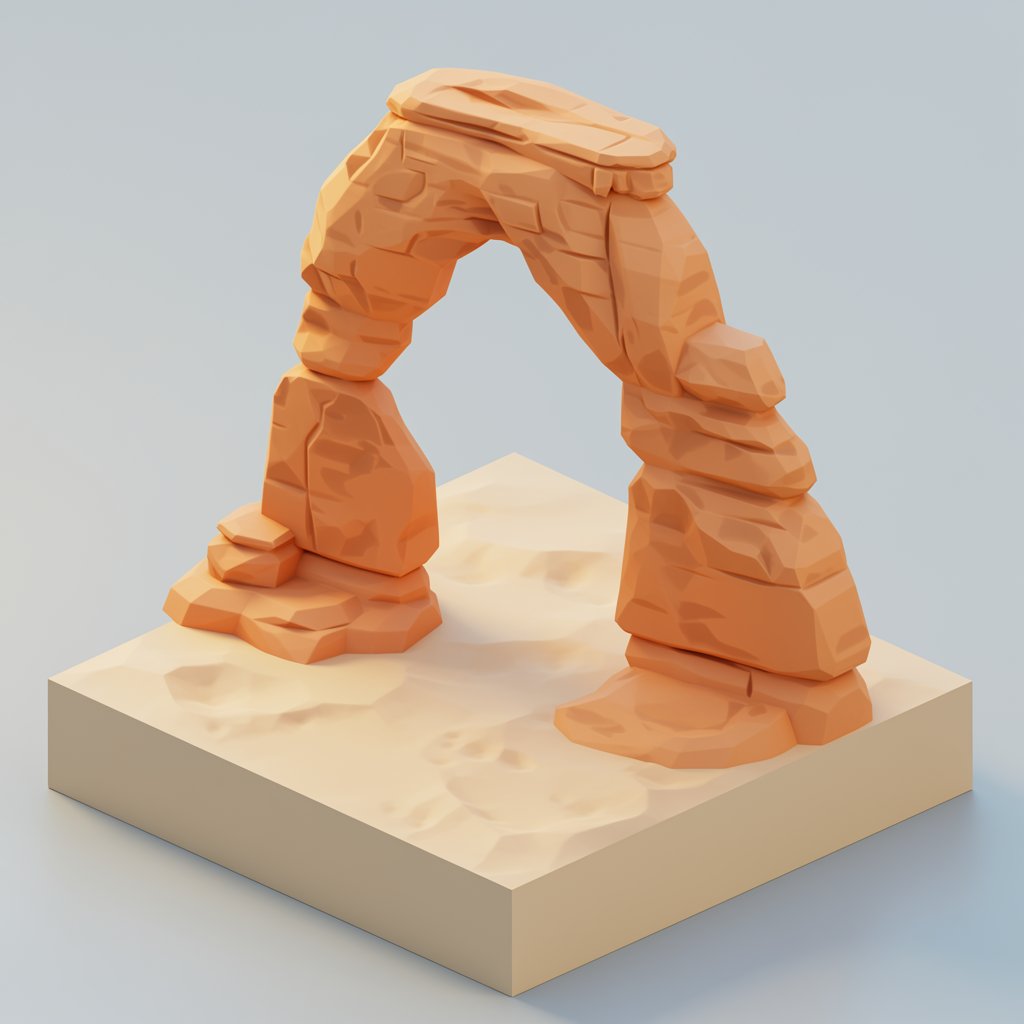
Clean 2D assets translate directly into better 3D outputs. Before running Text-to-3D or Image-to-3D in 3D AI Studio, consider pre-editing your references:

  • Remove distracting background elements - A busy backdrop confuses depth estimation; a neutral environment focuses the model on the subject.
  • Simplify color and lighting - Converting a noisy photo into a stylized 3D look can help the 3D generator produce better results.

Mini-FAQ #

How many images can I upload at once in the Edit workspace? #

You can add up to ten images per session. The first image acts as your main canvas; the others can help with style, lighting, or specific objects.

What is the core difference between Gemini Edit and Qwen Edit? #

Gemini Edit prioritizes structural fidelity and subtle retouching, making it perfect for realistic clean-ups. Qwen Edit leans into creative reinterpretation and bolder style shifts. Both share the same interface, so toggling between them is frictionless.

Do I need separate prompts for each variation I request? #

No. Set your desired number of outputs below the prompt box, click Generate, and the model returns that many unique takes in one batch. If none feel right, adjust the wording or switch models and run again.