


Get Consistent 3D Results
Text to 3D is unpredictable.
Here's the workflow that pros use to get exactly what they envision, every time.
Choose an example
Why Text to 3D is Hit or Miss
When you use Text to 3D directly, the AI interprets your prompt however it wants. You can't see what it's creating until it's done, and results vary wildly each time.
- • Wrong pose or proportions
- • Missing details you imagined
- • Style doesn't match your vision
- • Need many retries to get close

Image First, Then 3D
Generate images first, pick the perfect one, optionally edit it, then convert to 3D. Full control, consistent results.
Step 1 · Prompt
Start with your idea
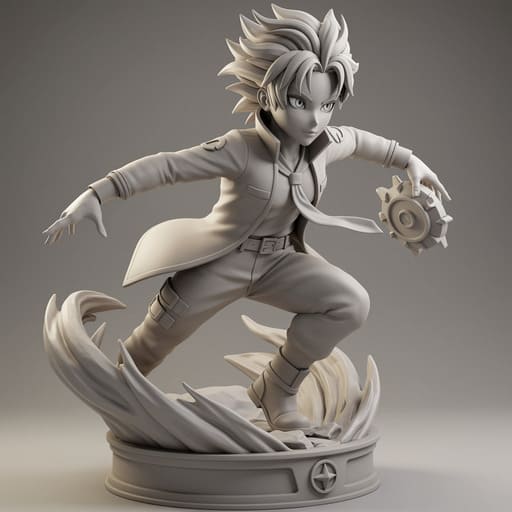
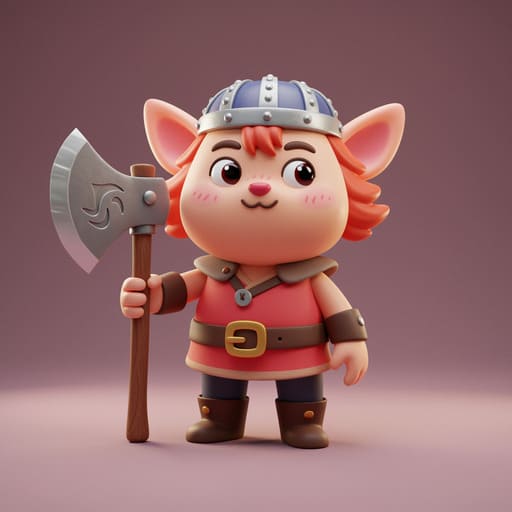
"a stylized 3d model of a hooded wraith, highly detailed, tabletop figurine"
Step 2 · Generate Images
AI generates 4 unique variations
Use Image Studio to create multiple image options
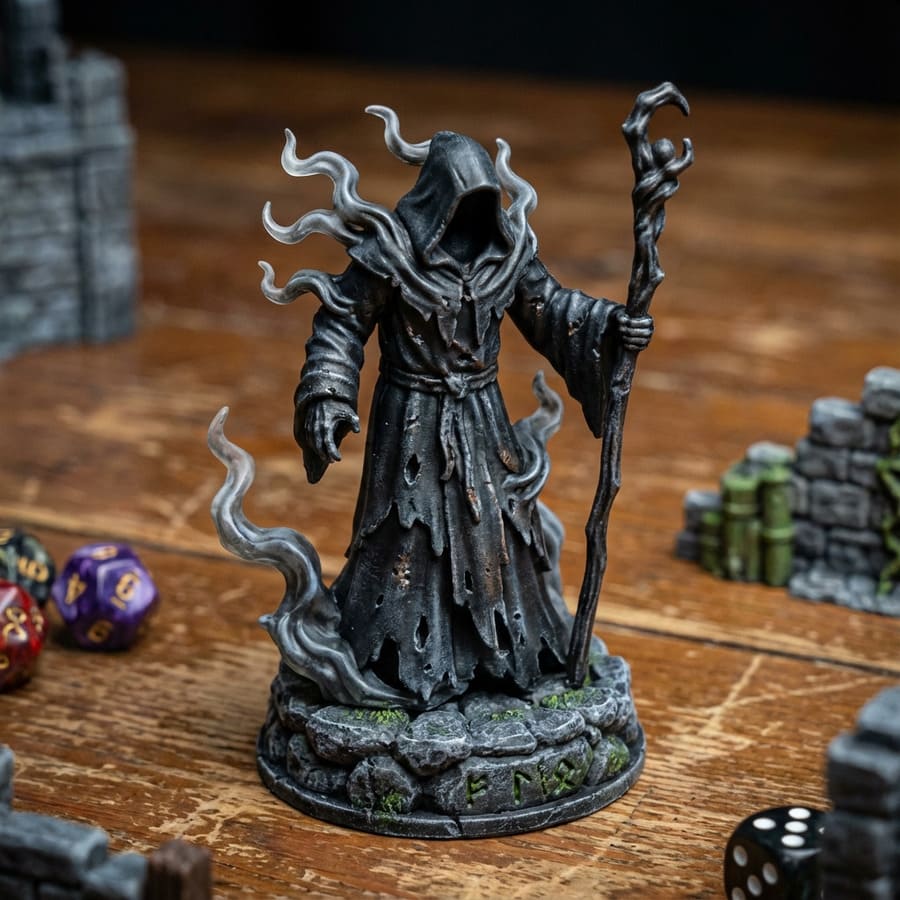
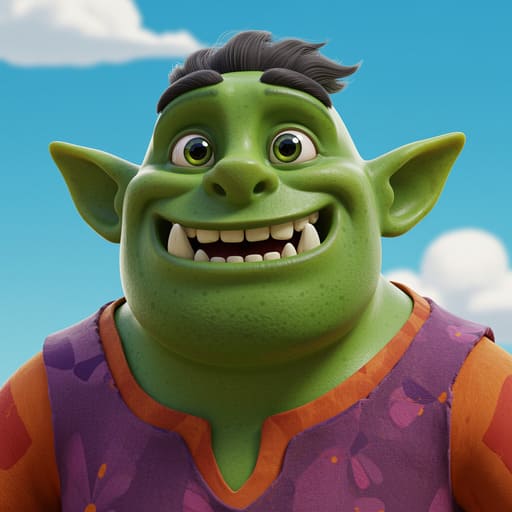
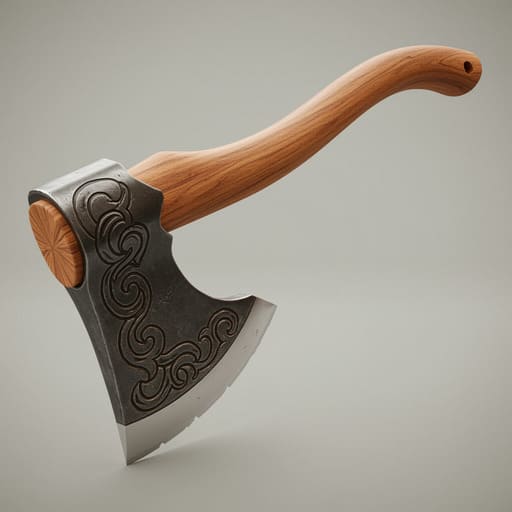
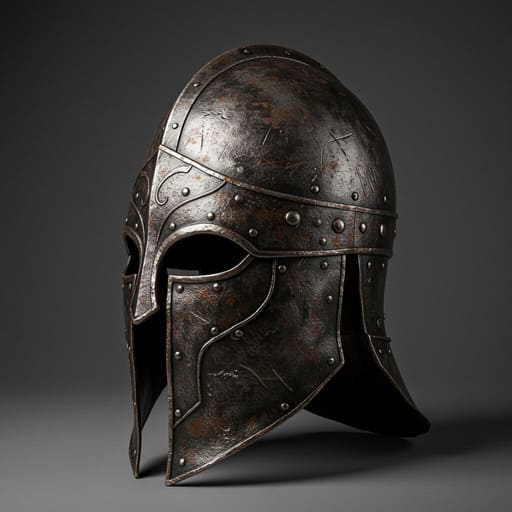
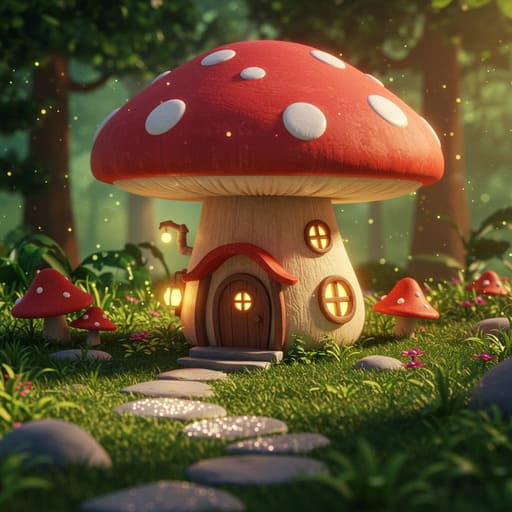
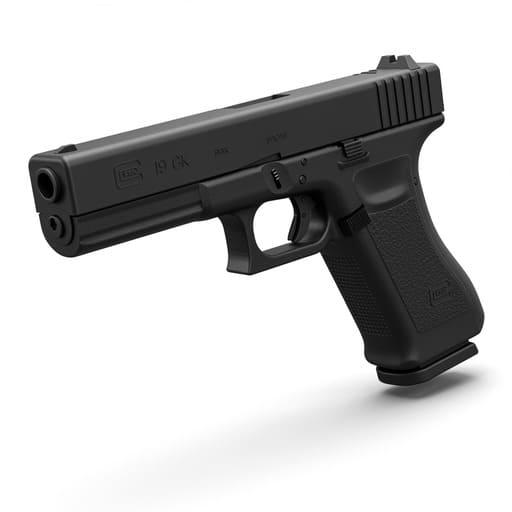
Variation #1
Generated with Nano Banana Pro on 3DAI Studio
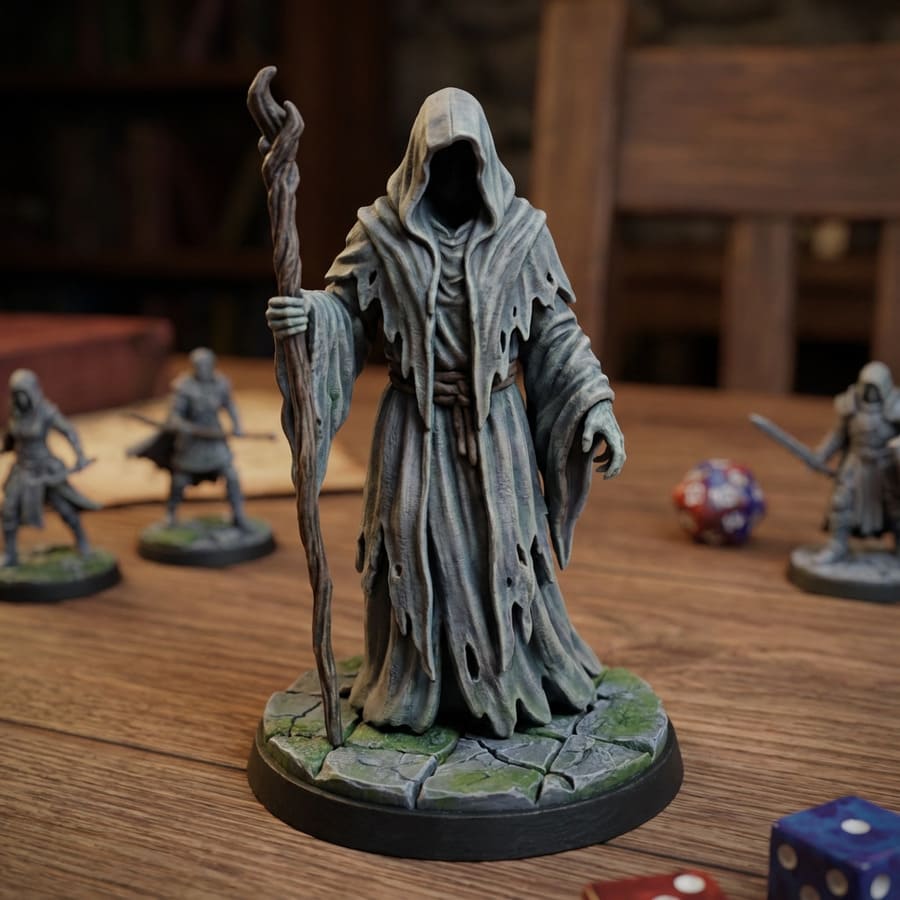
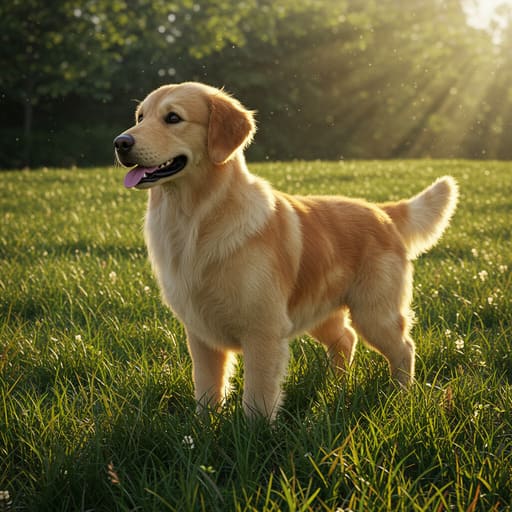
Variation #2
Generated with Nano Banana Pro on 3DAI Studio
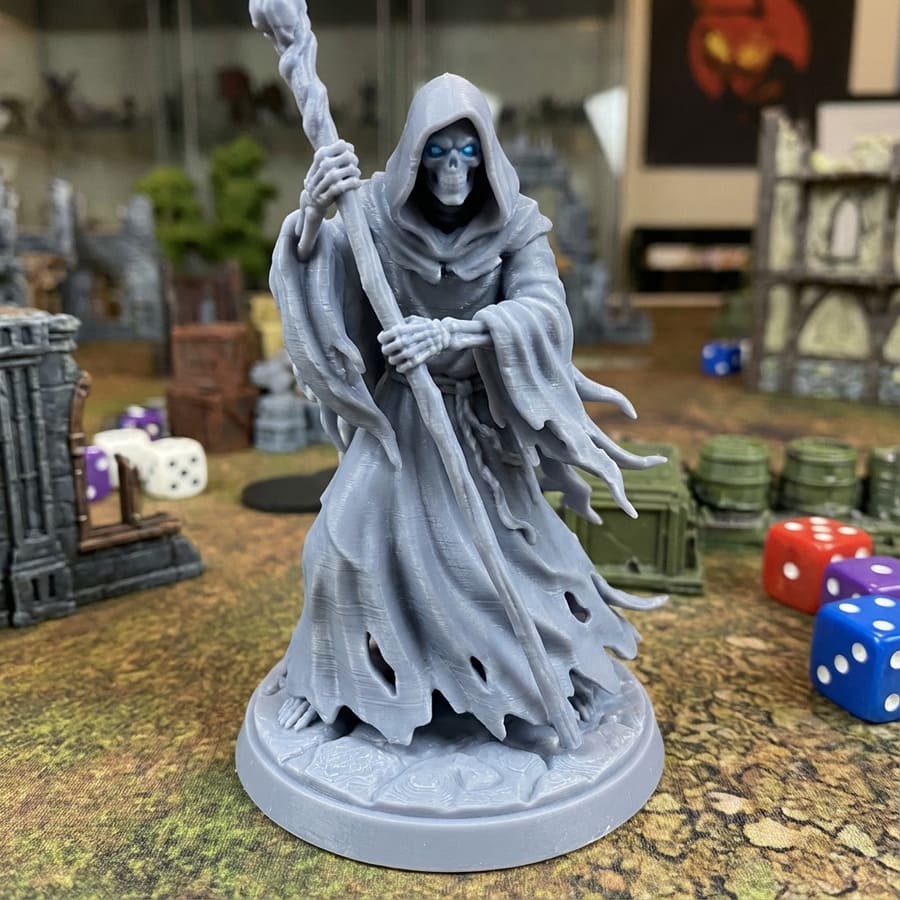
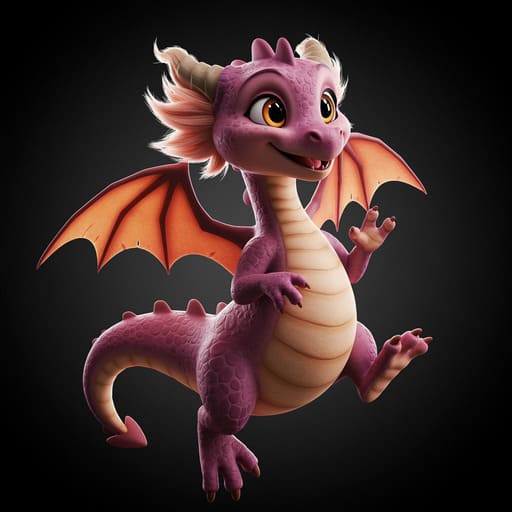
Variation #3
Generated with Nano Banana Pro on 3DAI Studio
✓ Selected
Great! Select the image you like best and continue to the next step.
Longer, more detailed prompts work better! Specify the style, pose, view angle, colors, details, and more.
Simply update your prompt and click generate again to create a new set of images:
"a stylized 3d model of a hooded wraith, highly detailed, tabletop figurine"
- • Style: Pixar style, realistic, stylized 3D, anime
- • Pose/View: front view, T-pose, action pose
- • Details: colors, textures, accessories
- • Background: white background, studio lighting
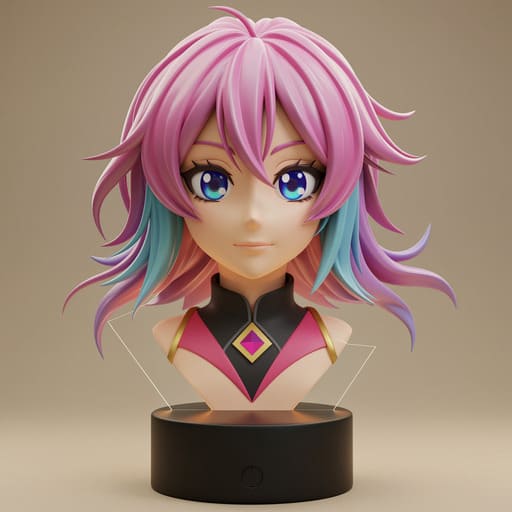
Step 3 · Edit
Refine with Nano Banana Pro
Need to tweak something? Use the edit tools to perfect your image before converting to 3D.
Source image
Edit prompt:
"add a scythe into the left hand"
Result ✓
Remove backgrounds, fix details, add objects, change poses & more
Where to find: Image Studio → Edit category
Recommended: Nano Banana Pro or Gemini Edit
Use simple prompts to change style, background, add/remove objects, and more
Tip:You can make as many edits as needed until it's perfect!
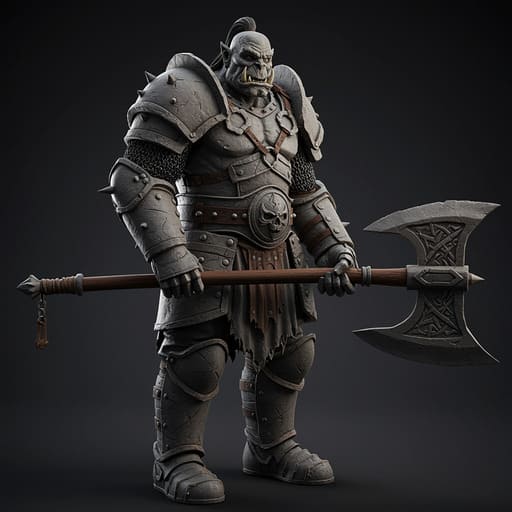
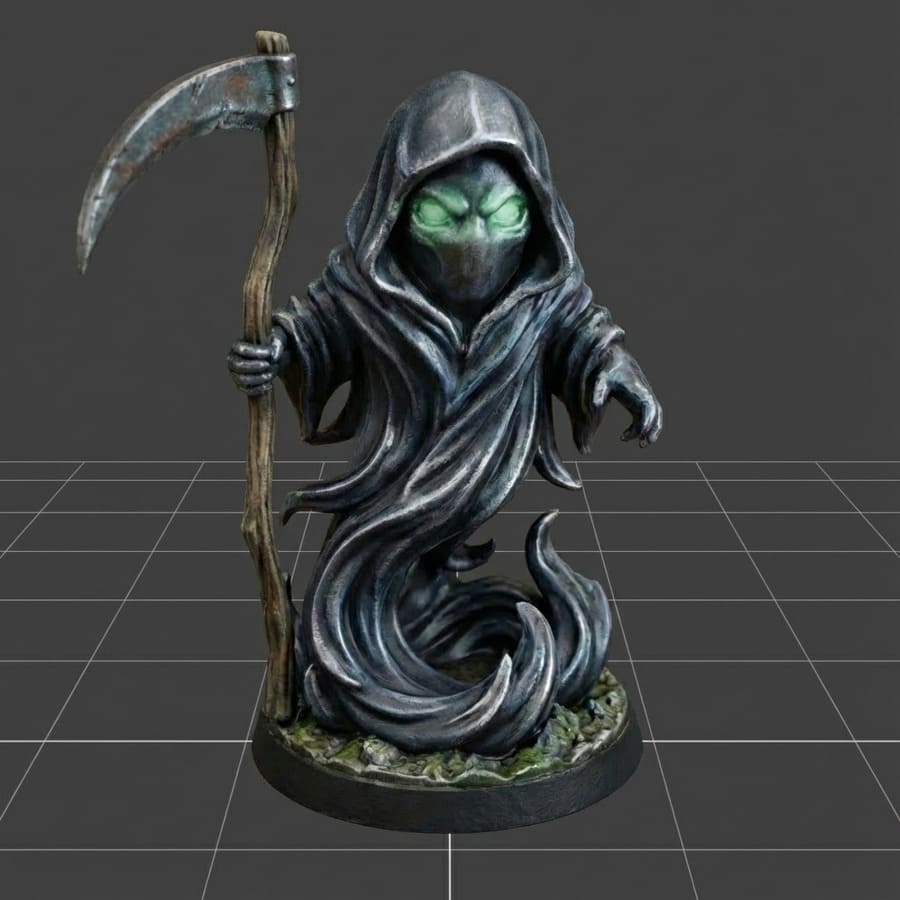
Step 4 · Convert to 3D
Use Image to 3D for predictable results
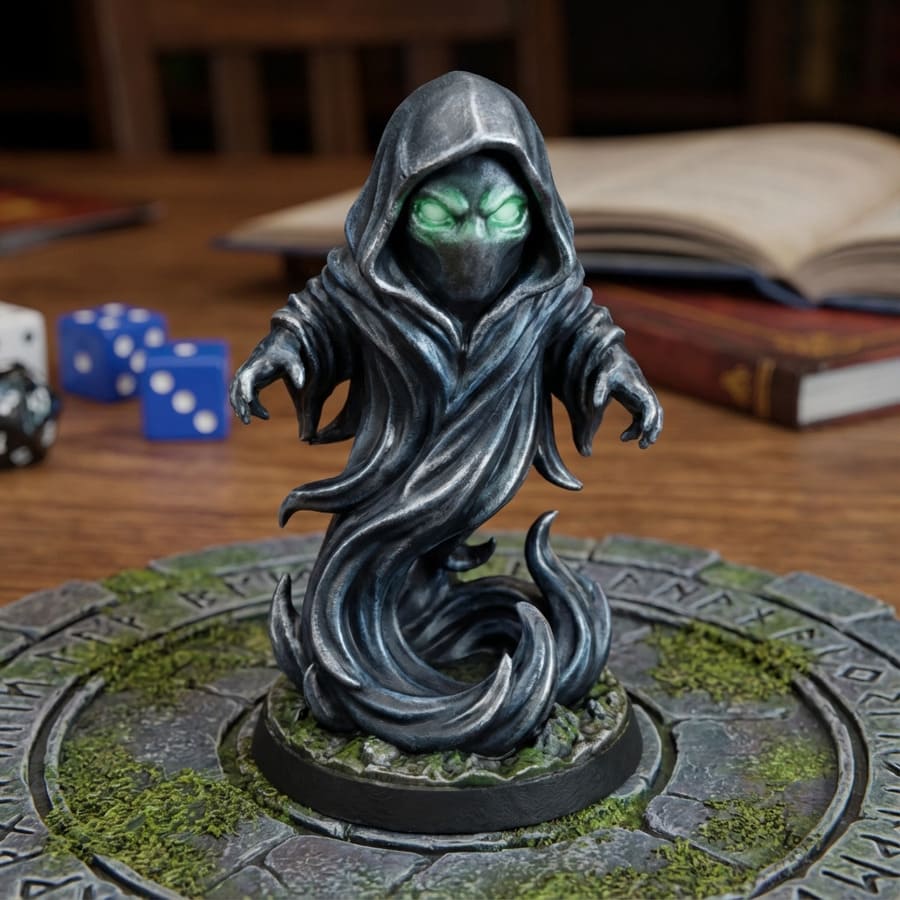
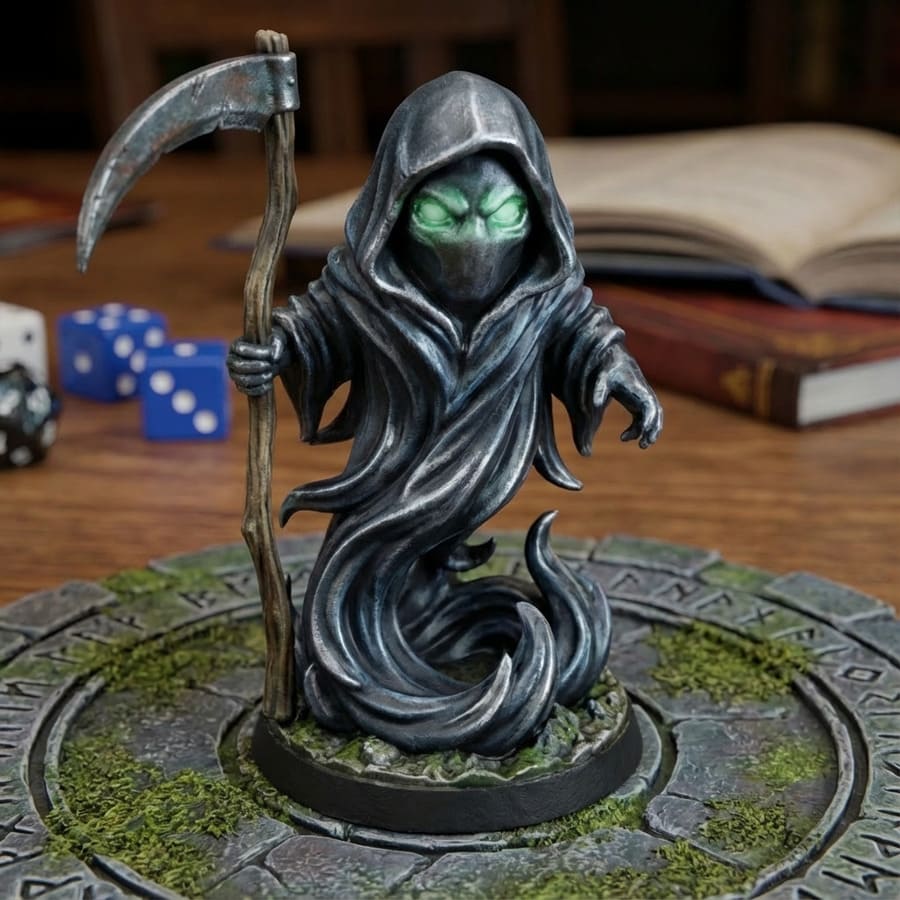
Your Perfect Image
Exactly What You Envisioned
Why This Works
- See exactly what you'll get before 3D conversion
- Pick the perfect variation from multiple options
- Fix any issues in the image before converting
- Consistent, predictable 3D results every time
Choose another example to see the workflow in action
Watch It In Action
Prefer video?
Jan from our team recorded a quick explainer showing this workflow step by step.
Ready to try the better workflow?
Start in Image Studio, generate your perfect image, then convert it to 3D.
Still want to try Text to 3D? Go to Text to 3D